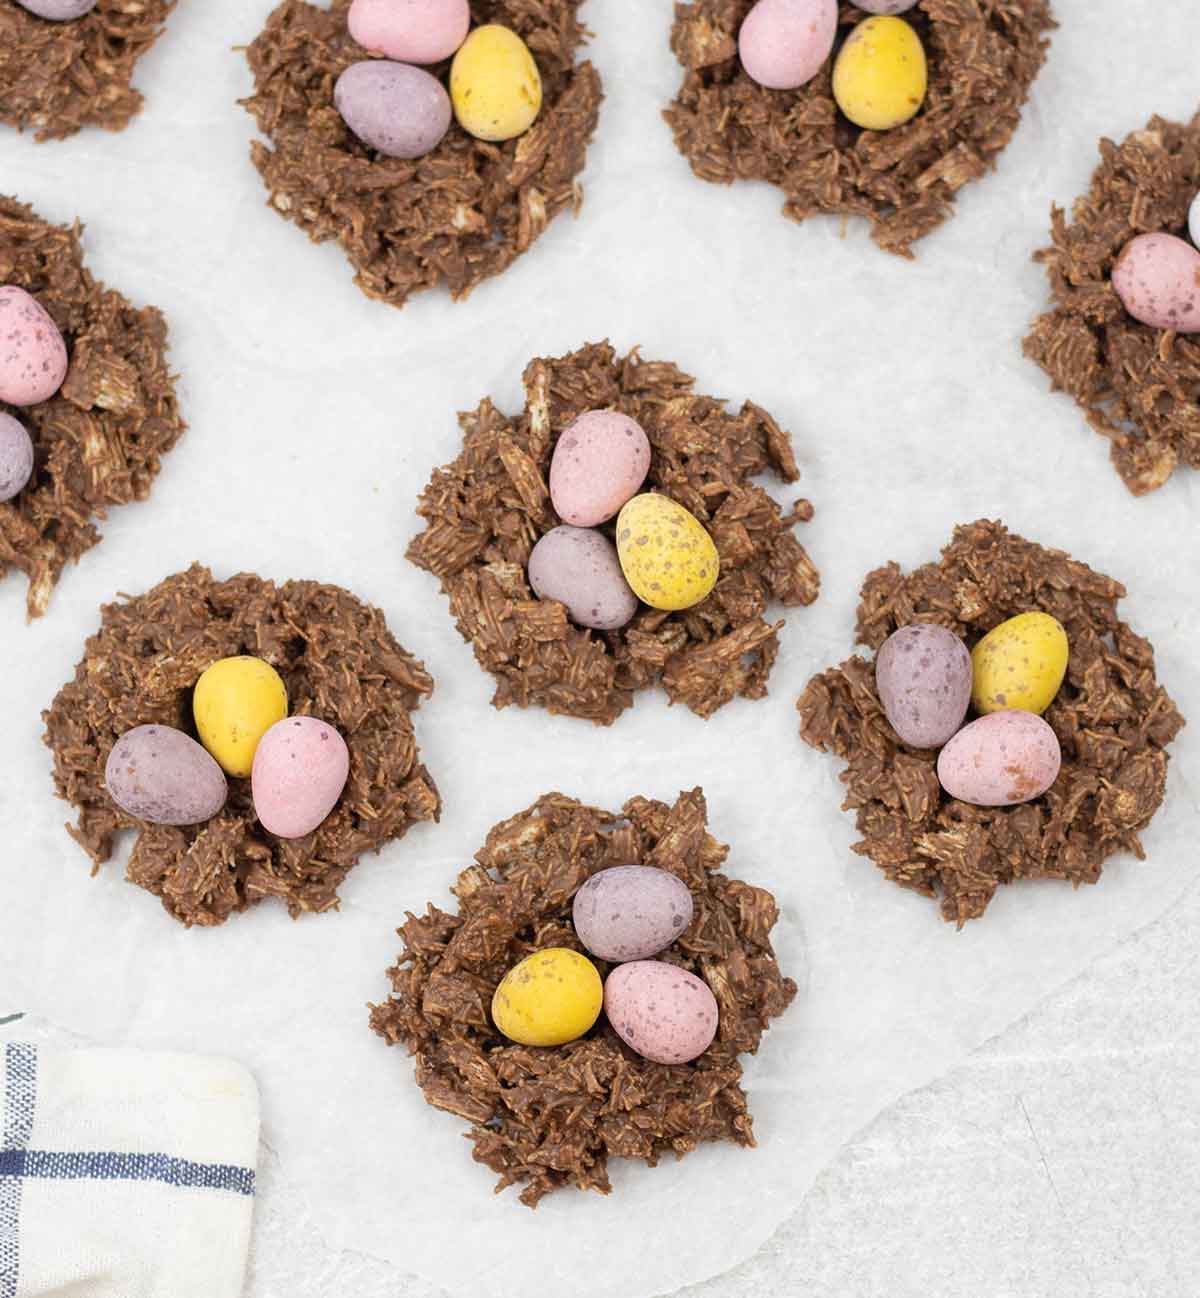
I had so much fun making these Easter Nests. I have never made an Easter treat recipe this easy.
I used only three ingredients and topped these Easter nests with colorful mini chocolate eggs. They are crunchy and chocolatey; I am sure you will love them!
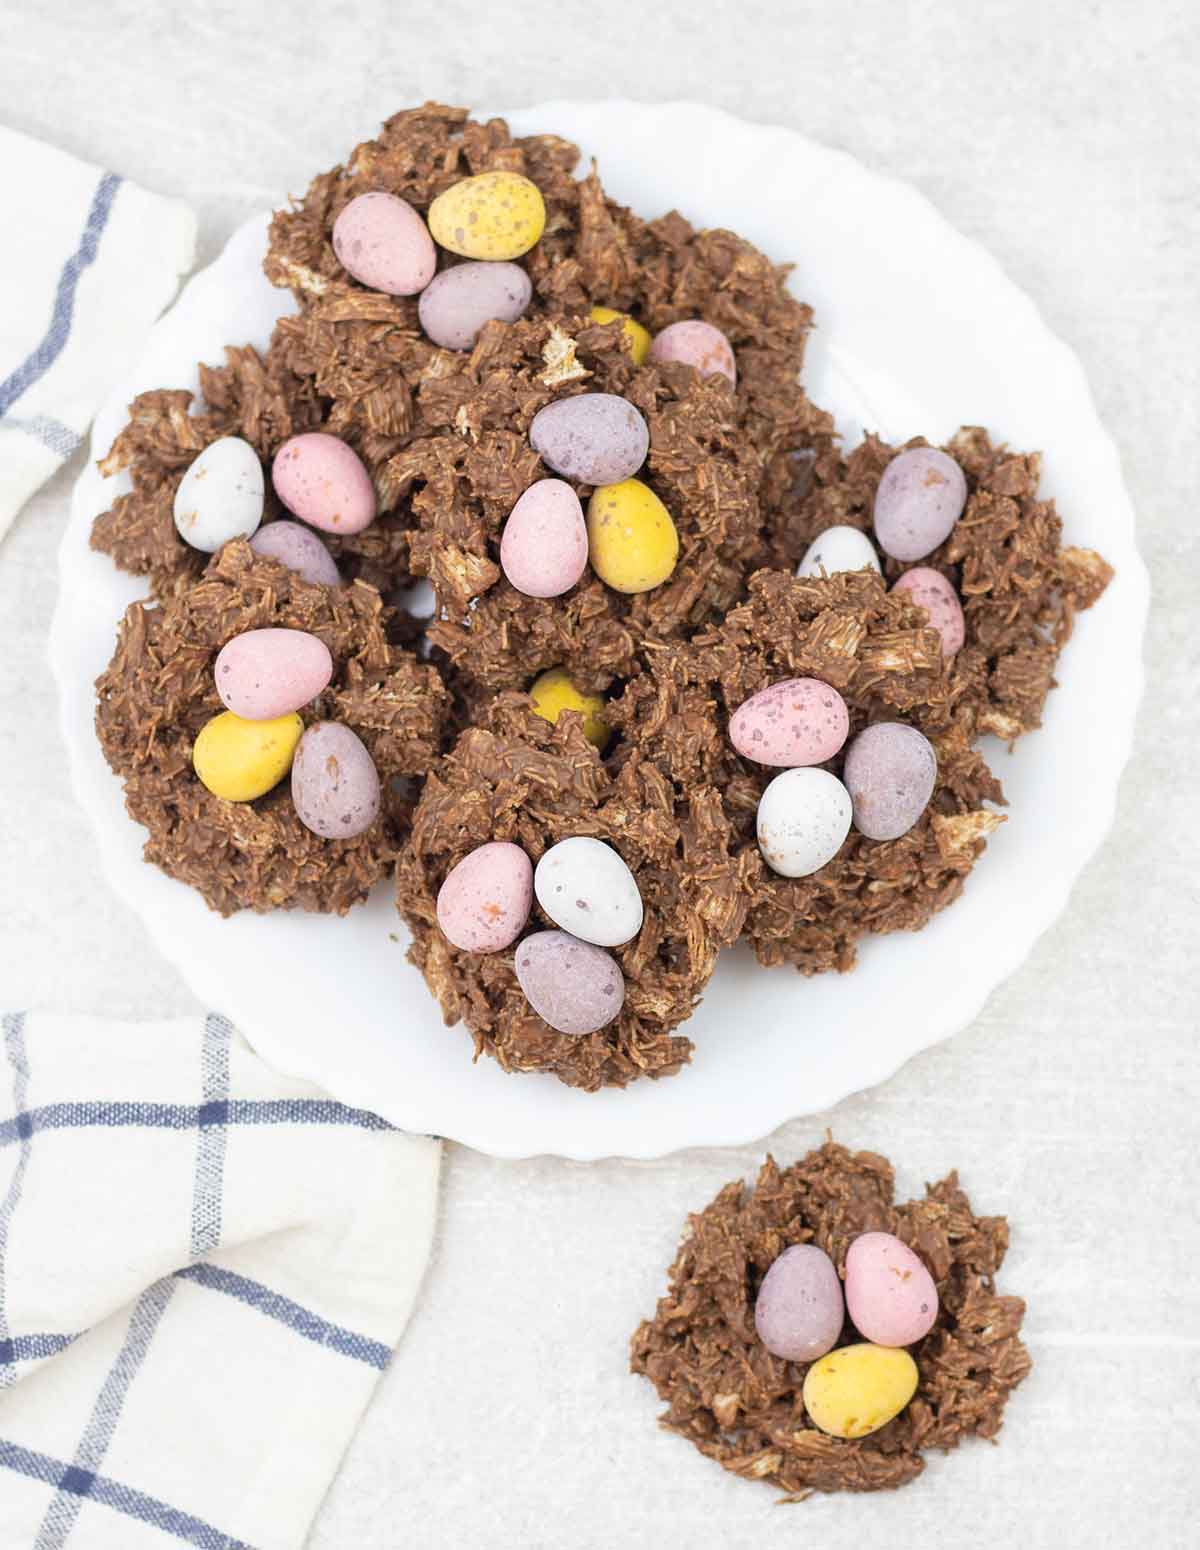
Easter Nests
I highly recommend this recipe for ester; I like it because it is such an easy easter dessert; I could make it in a jiffy.
It also does not need any complicated ingredients, and it is super festive and colorful.
This Easter Nest Recipe is also kid friendly! If you’re trying to come up with simple, safe, and fun activities for your kids during the Easter season, then co-baking this easter nest is the perfect activity for you and your little tot.
You'll Need
Full information on ingredients and quantities is in the recipe card at the end of the post.
Milk chocolate: Since I don't use any sweetener in this recipe, milk chocolate is a great choice. However, You can substitute it with white chocolate or dark chocolate, although substituting dark chocolate can make your nests bittersweet.
Wheat: I use shredded wheat to make the nests. It provides a crunchy texture to the recipe and it is available at any grocery store.
Mini chocolate eggs: I use Cadbury mini eggs
How To Make Easter Nests?
One: Line a large baking tray with parchment paper.
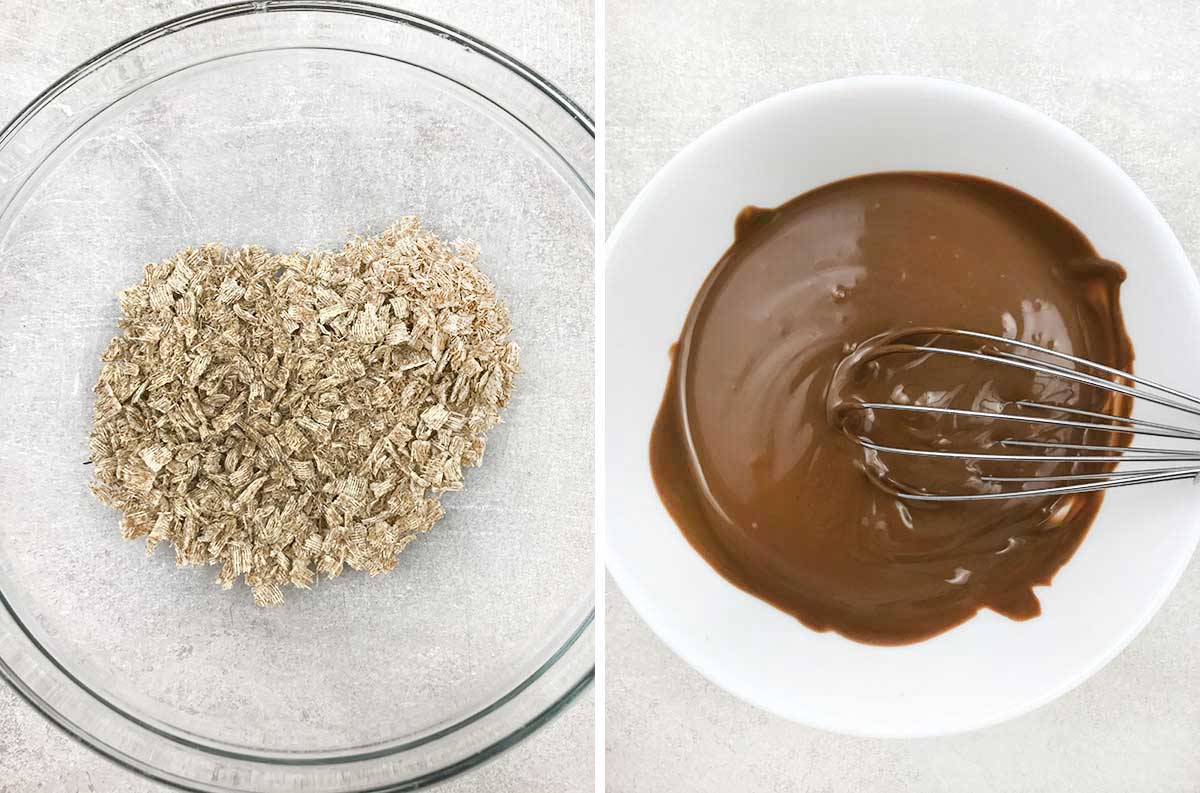
Two: Crush the wheat and put it in a large bowl.
Three: In a microwave-safe bowl, microwave the chocolate for 30 seconds or until melted. You can also use a double boiler to melt the chocolate over medium heat.
Tip: Make sure that you melt the chocolate properly. There should be no whole chunks in your bowl.
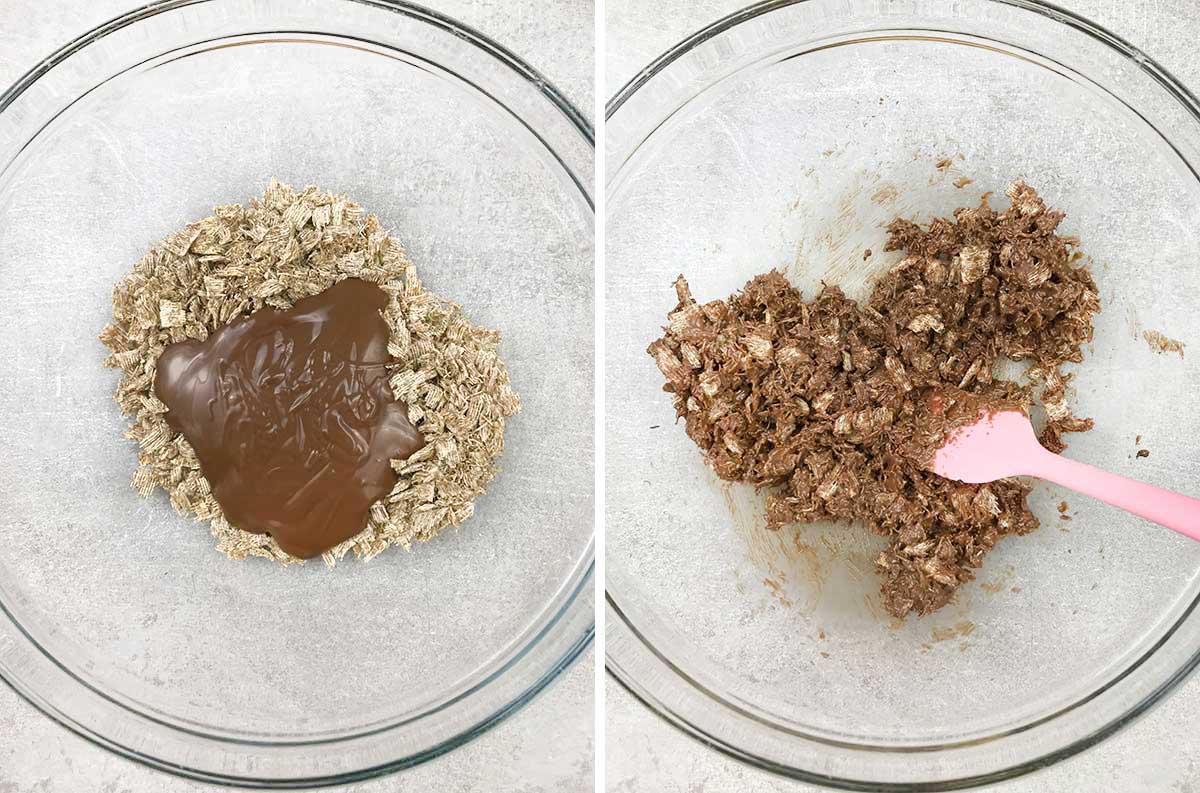
Four: Pour the chocolate over the shredded wheat and stir until combined.
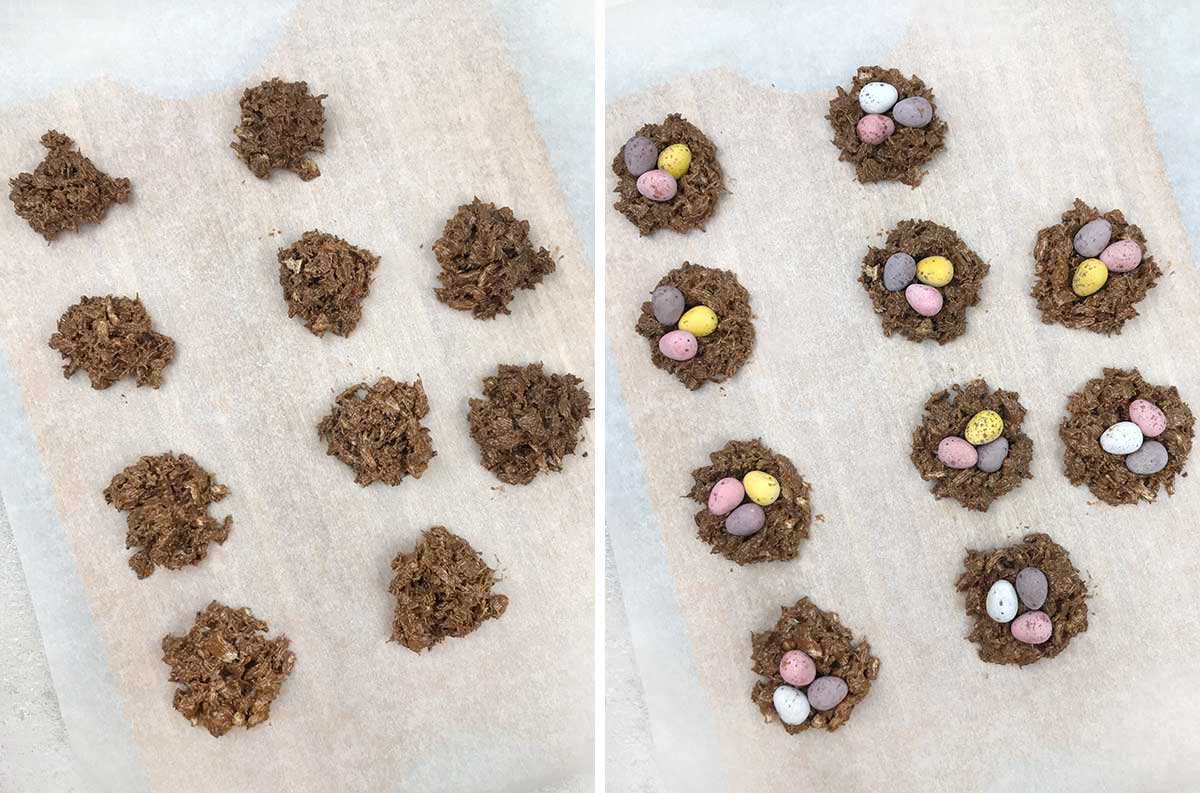
Five: Use a cookie scoop to scoop the chocolate wheat into the baking tray.
Tip: The size of the nests in this recipe is approximately what a regular ice cream scoop would look like. Bigger-sized nests will need more time to chill and might not hold their shape better than smaller nests.
Six: Press the back of a teaspoon in the center of the wheat to create a nest shape.
Seven: Place 2-3 mini chocolate eggs in the middle of each nest and then put the tray in the fridge.
Eight: Chill for 1-2 hours until solid/settled.
Tip: Make sure to stick your nests in the fridge after preparing them. A cool nest will hold its shape better, making its presentation prettier.
Helpful Tips
- You can substitute wheat with cornflakes, rice krispies or any crunchy Asian noodles. You may also shredded coconut or coconut flakes.
- You can also make this recipe vegan! Substitute chocolate with non-dairy-based chocolate, and you will have Vegan Easter Nests to enjoy.
- A fun way to introduce these chocolate nests is by putting them in cupcake cases.
- Use jelly beans instead of mini Cadbury eggs.

More Easter Recipes


I hope you like this recipe! Follow Recipe Tale on Pinterest and subscribe to our newsletter to keep up-to-date with all new recipes.
Recipe

Easter Nests Recipe
Equipment
- Baking sheet
- Measuring spoons
- Bowl
Ingredients
- 190 g milk chocolate , chopped into pieces
- 85 g shredded wheat , crushed
- 150 g Cadbury mini chocolate eggs
Instructions
- Line a large baking tray with parchment paper. Crash the wheat and put it in a large bowl.85 g shredded wheat
- In a microwave-safe bowl, microwave the chocolate for 30 seconds or until melted.190 g milk chocolate
- Pour the chocolate over the wheat and stir until combined.
- Use a cookie scoop to scoop the chocolate wheat into the baking tray and press the back of a scoop in the centre of the wheat to create a nest shape.
- Place 2-3 mini chocolate eggs on top of each nest and then put the tray in the fridge for 1-2 hours until solid.150 g Cadbury mini chocolate eggs
Pam says
Is it best to use shredded wheat or cornflakes for this recipe?
Radwa says
This recipe uses wheat.