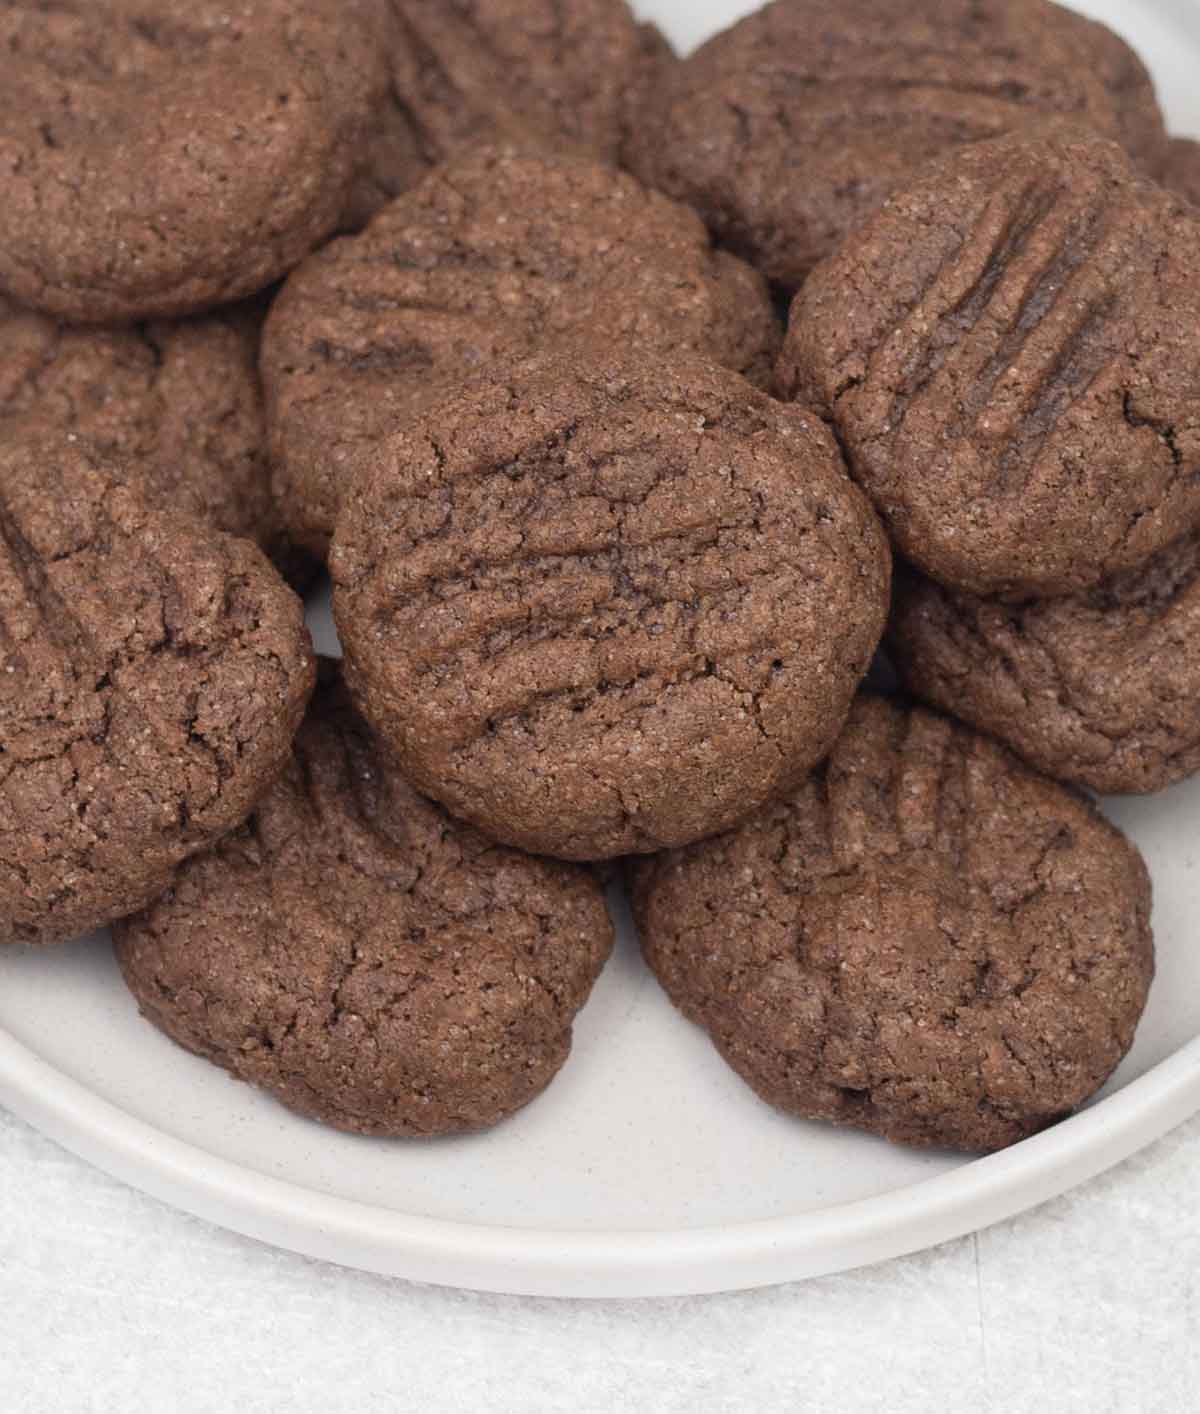
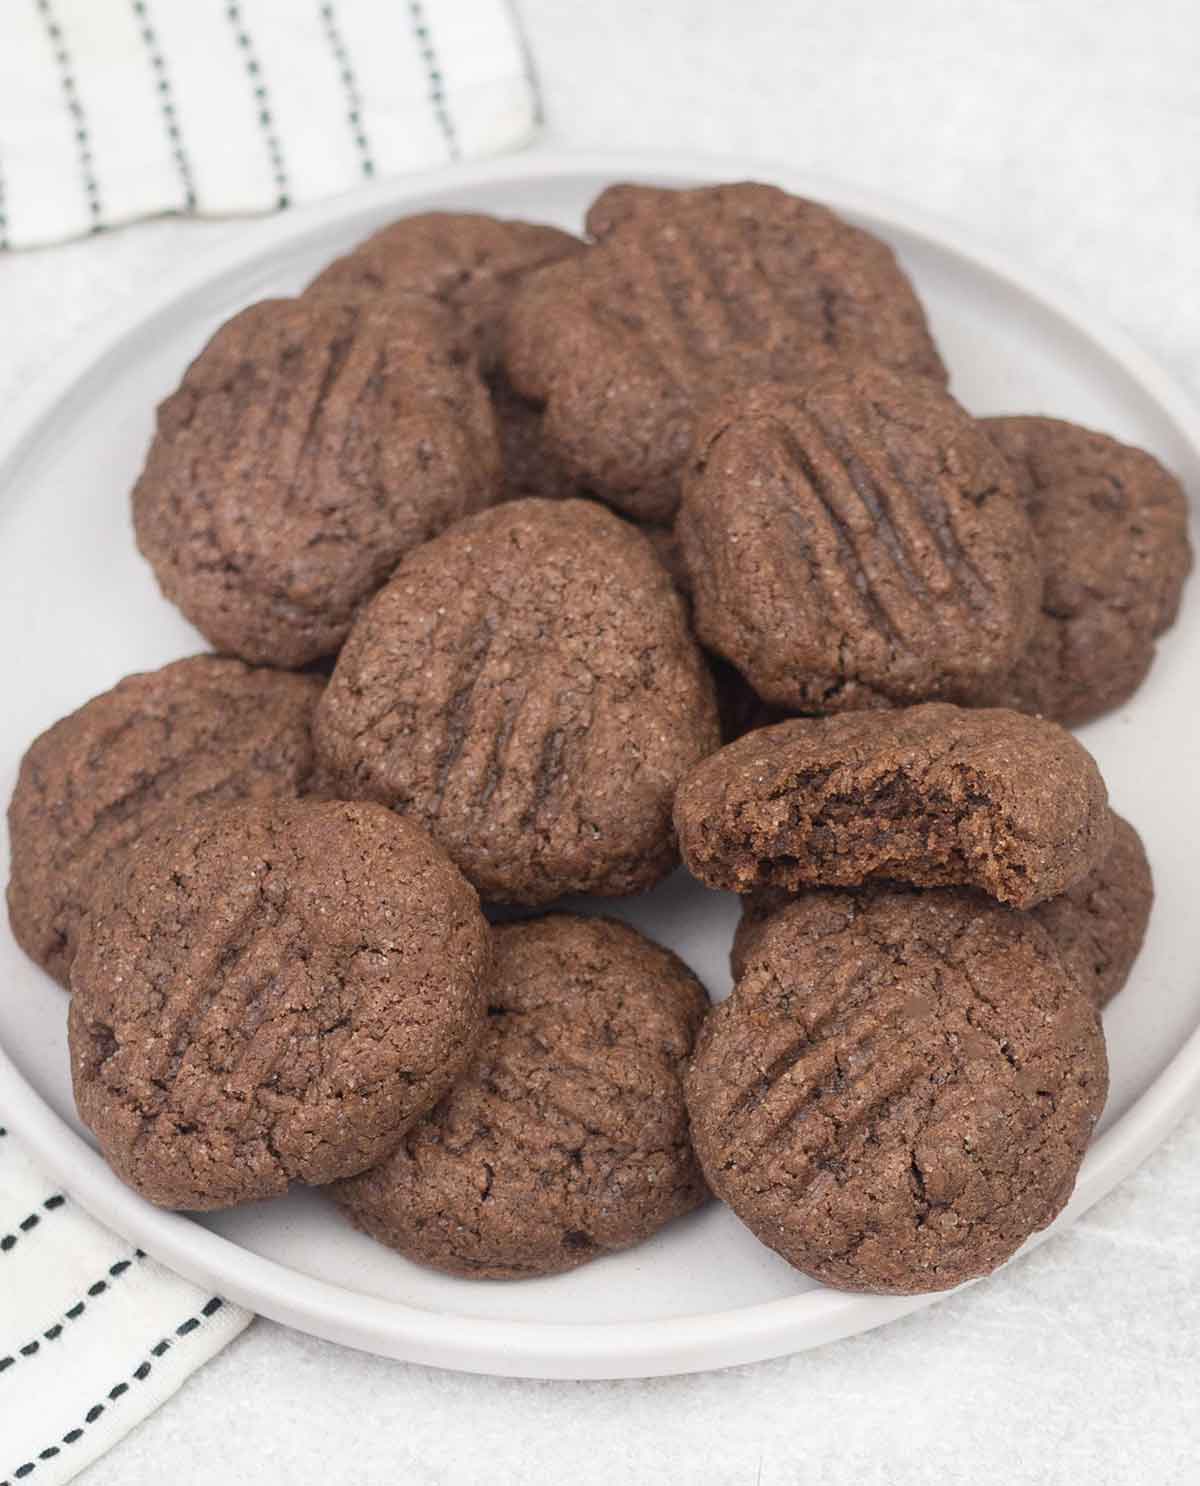
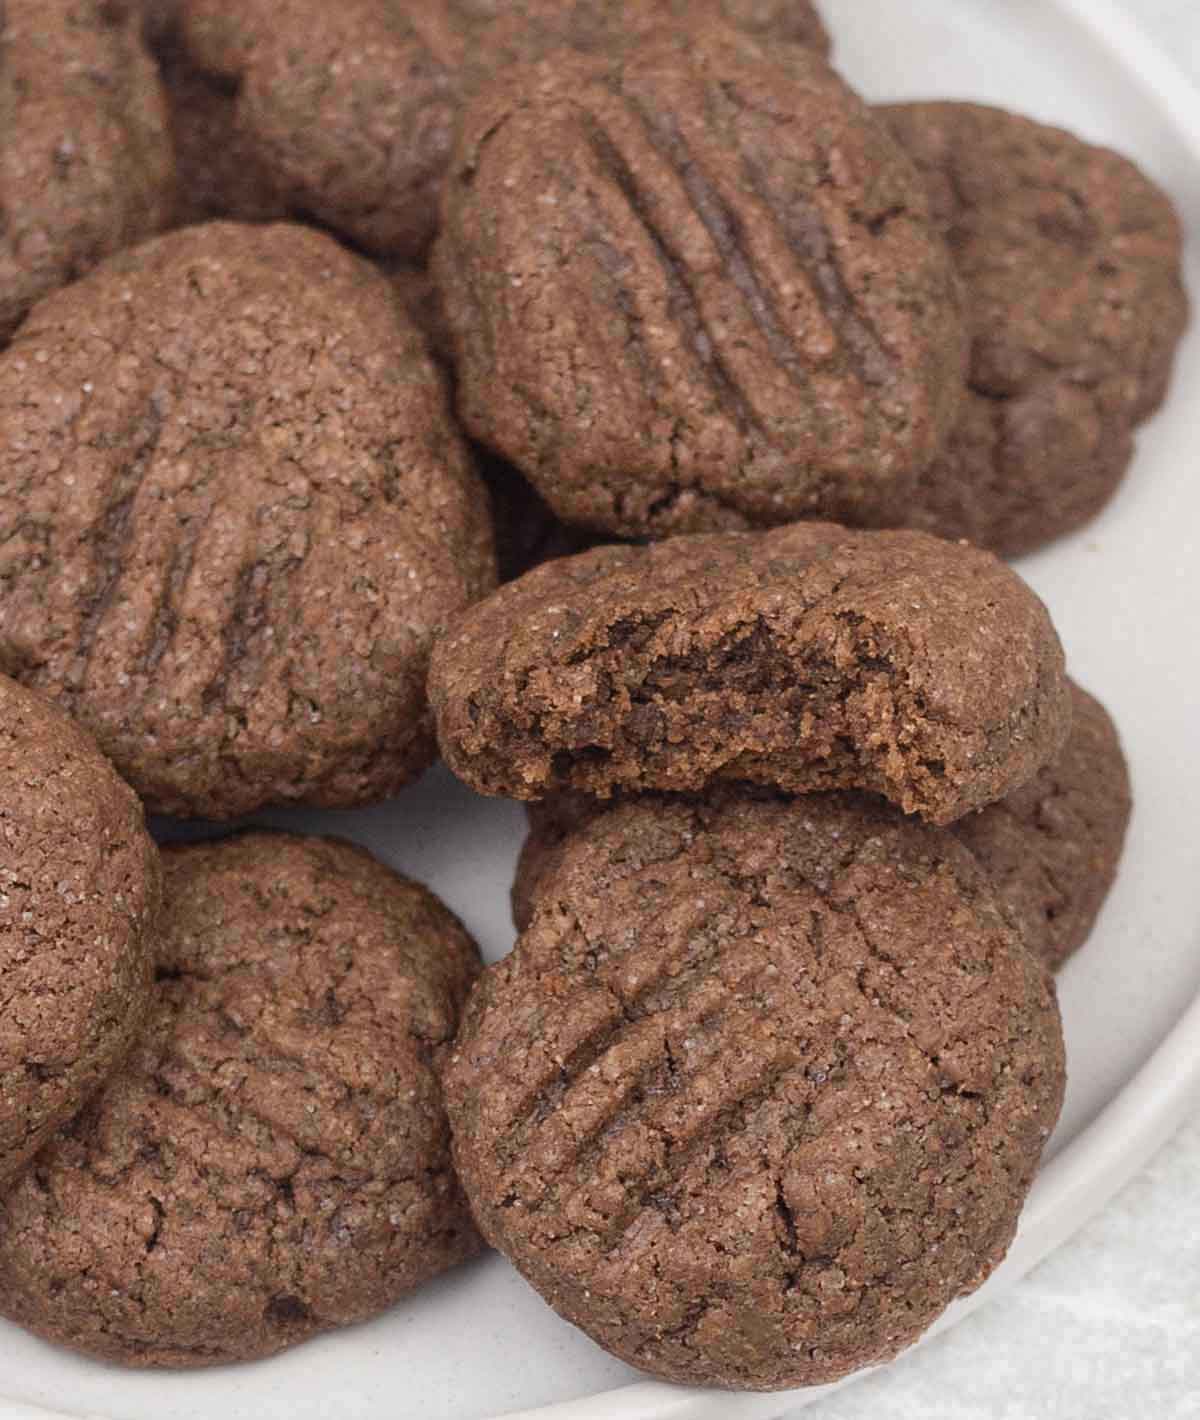
Chocolate fork biscuits are incredibly easy biscuits made with just 4 ingredients; they are soft and chocolaty, and perfect with afternoon tea or coffee.
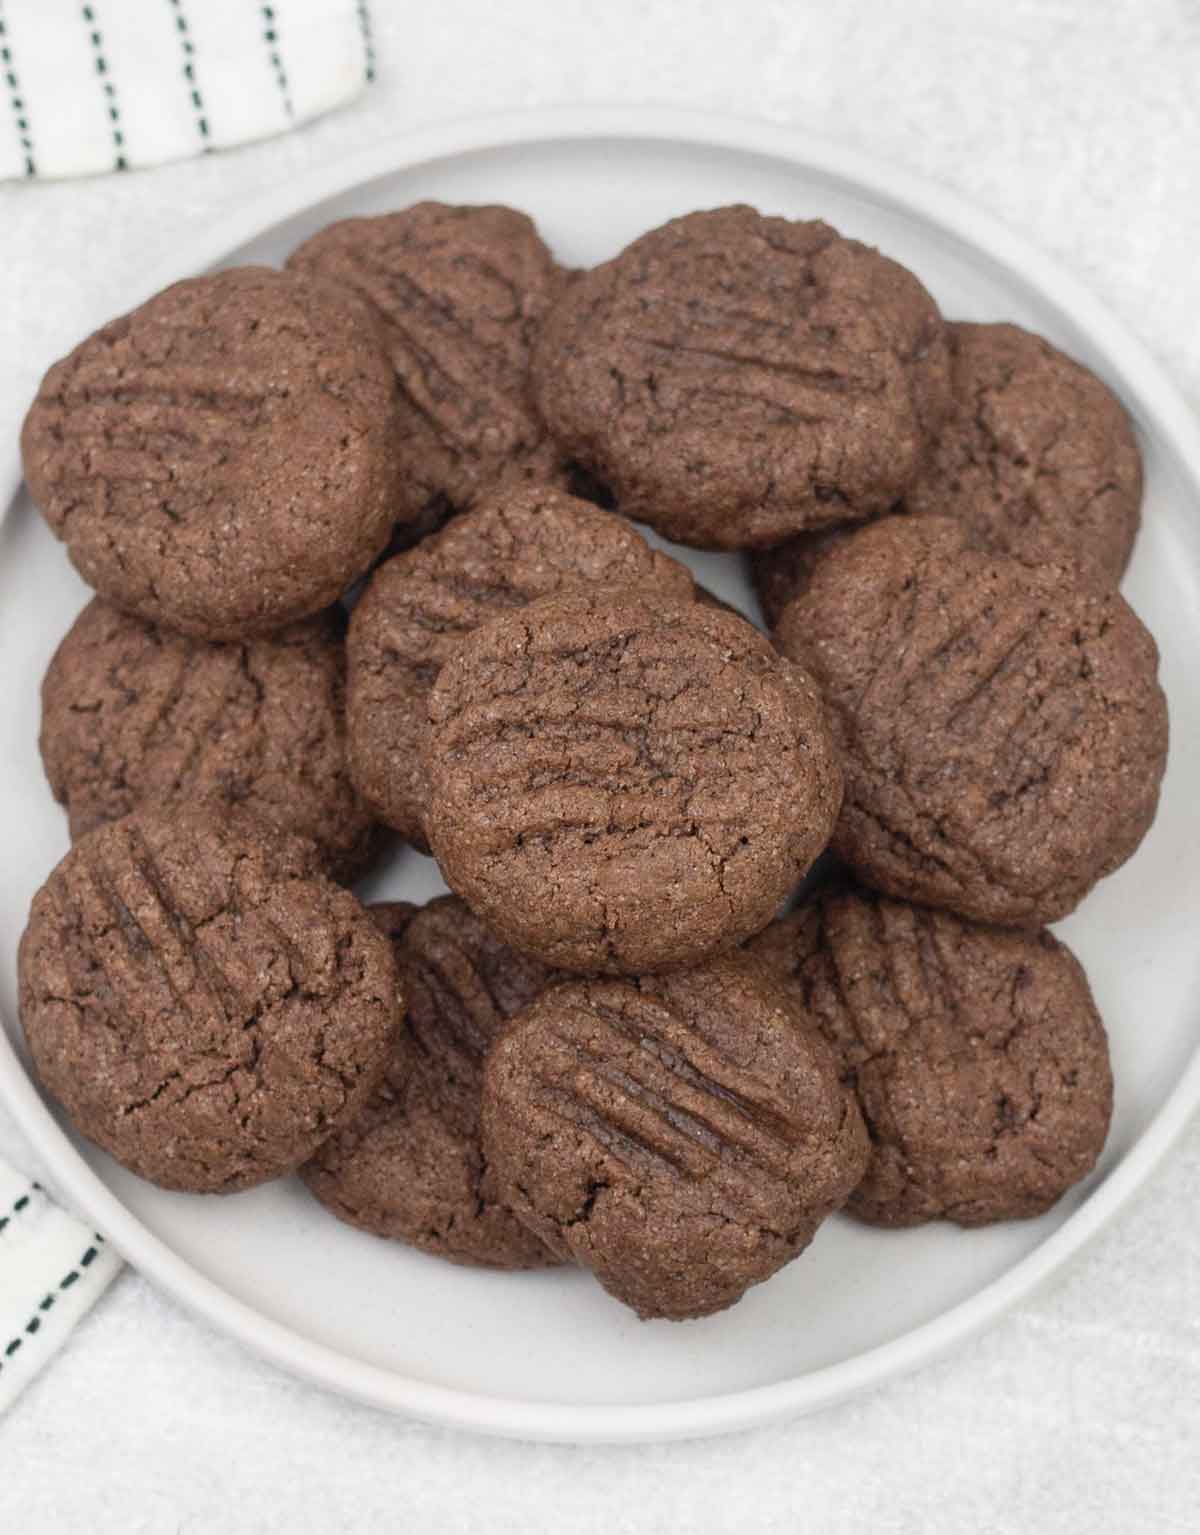
Chocolate Fork Biscuits
I like this recipe because it is easy to make and requires no skills, and only 4 pantry staples are all you need to make this recipe. The best part is that it takes only 15 minutes to bake.
Making these biscuits is also a fun activity to enjoy with your children. They can help mix the dough, or press the biscuits with a fork before baking.
Why Make This Fork Biscuits Recipe
- Quick and easy to prepare.
- Made with only 4 simple ingredients.
- Egg-free biscuits
- Perfect for snacks or afternoon tea.
You'll Need
Full information on ingredients and quantities is in the recipe card at the end of the post.
Butter: I prefer unsalted butter. Use butter at room temperature to mix easily with the caster sugar without a fuss.
Caster sugar: The best sugar to use for this recipe is caster sugar because it is so fine and dissolves quickly when mixed with butter.
Self-raising flour: It makes the biscuit dough airy and gives it the right texture. It is important to note that self-raising flour contains salt and a leavening agent.
Cocoa powder: Use good quality cocoa powder for a rich chocolaty flavor.
How To Make Fork Biscuits
One: Preheat the oven to 180C / 350F and line a large baking tray with parchment paper.
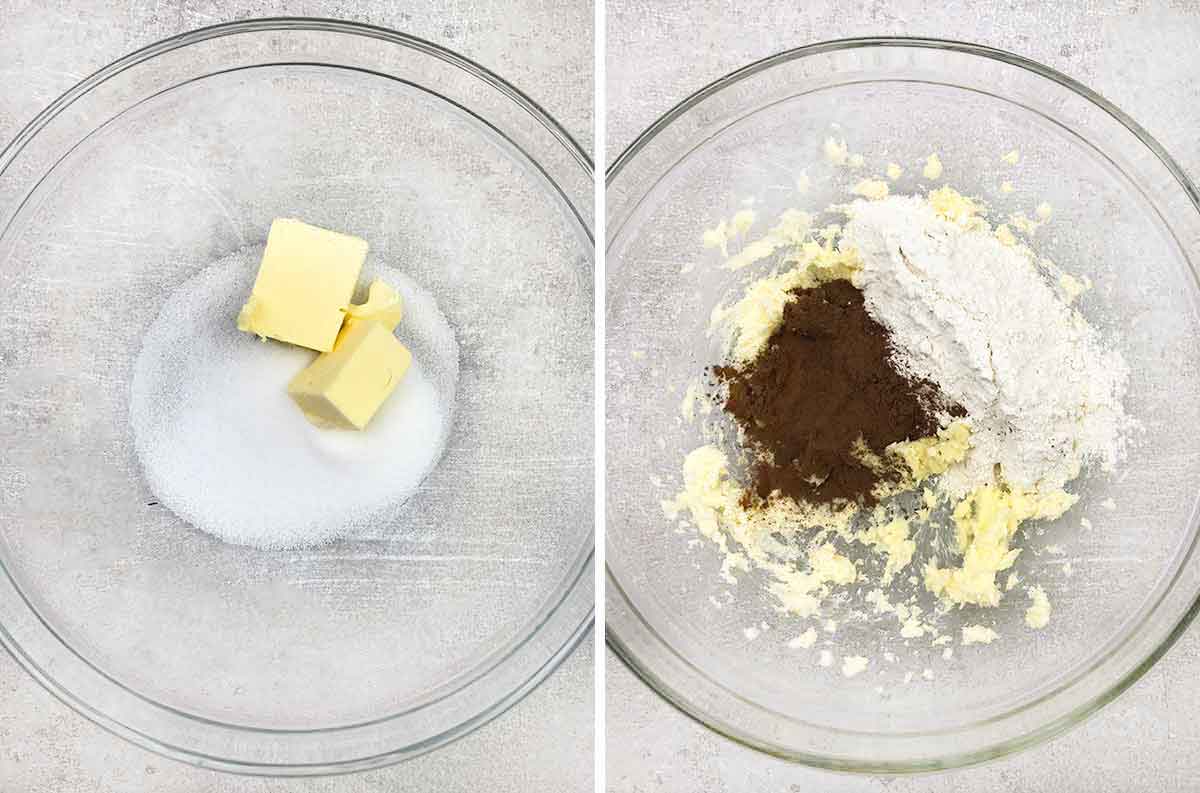
Two: In a large mixing bowl, cream the softened butter and sugar together with the electric mixer until fluffy, and mix in the flour and cocoa powder until the dough comes together.
Tip: If your dough turned out a bit dray, you can add a little bit of milk (1-2 tablespoons) to enable the dough to stick together.
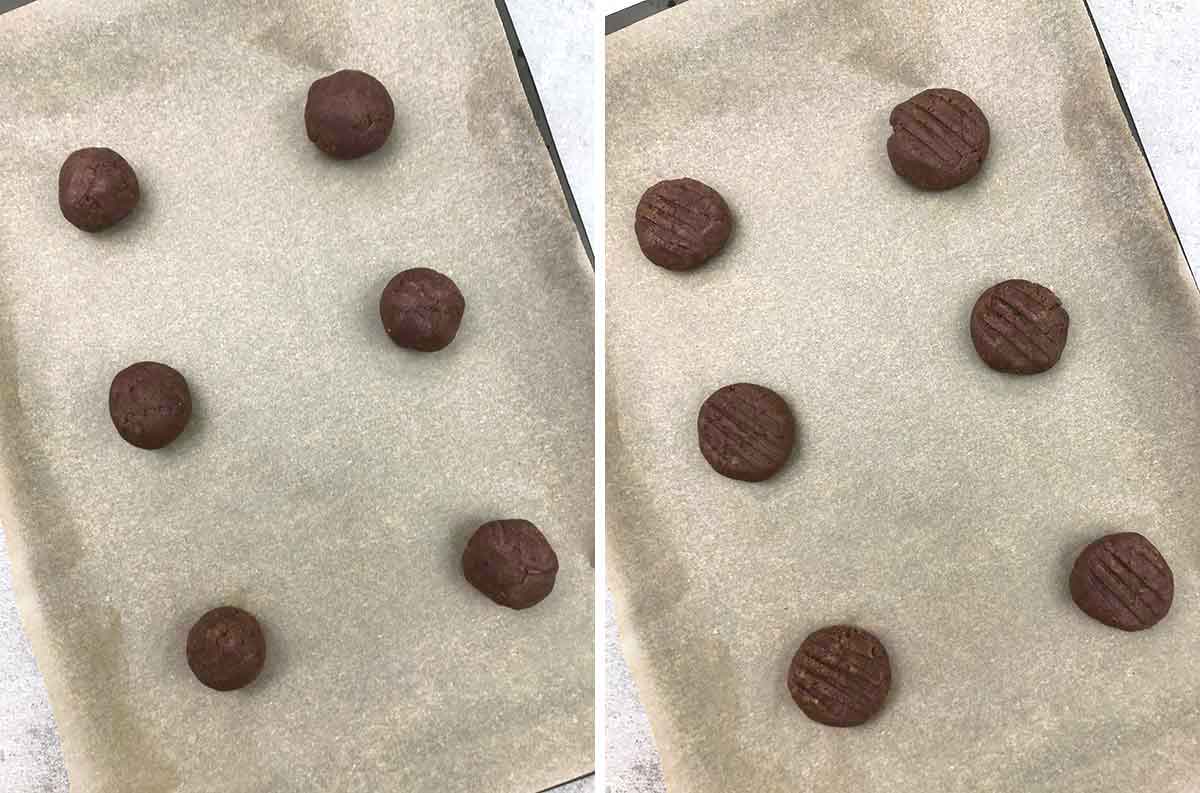
Three: Spoon about 1 tablespoon of the dough per cookie and roll them into balls (walnut-sized balls). I prefer to make them small because they expand a little bit while baking.
Four: Place the balls of dough on the lined baking tray and press down gently on each biscuit with the fork, making an imprint.
Tip: Dip the fork in cold water before using it to press the dough balls into a biscuit shape to prevent it from sticking to the dough.
Five: Bake the biscuits in the preheated oven for 12-15 minutes until they are fully baked. Remove from the oven and allow to cool on a wire rack.
Tip: The biscuits will be a bit soft when they come out of the oven, but they harden when they cool. Leave the biscuits to firm before moving them to a wire rack to cool.
Success Tips
- Avoid overmixing the dough so that the biscuits do not become tough.
- Ensure the balls of dough are an average size, not too big, so they cook evenly.
Recipe Variations
- Chopped nuts, dried fruits, or honeycomb are a great way to elevate the taste of these biscuits.
- Cinnamon and nutmeg can be added to create a rich, warm flavor.
- If you do not have self-raising flour, you can use regular all-purpose flour but ensure that you add baking powder and a pinch of salt.
- Drizzle some melted chocolate on top of these homemade biscuits.
More Cookie Recipes
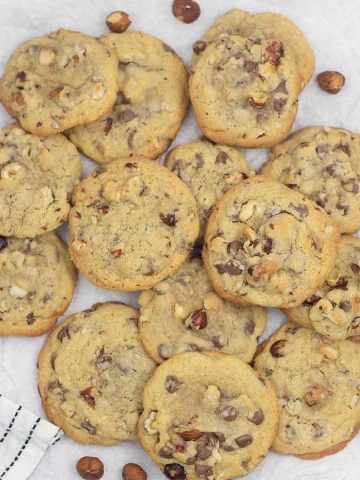
- Hazelnut Cookies with Chocolate Chips
- Blondie Cookies
- Jam Filled Cookies
- Cinnamon Spice Cookies
- Easter Egg Cookies Recipe
- Easy Smarties Cookies Recipe


I hope you like this recipe! Follow Recipe Tale on Pinterest or subscribe to our newsletter to keep up-to-date with all new recipes.
Recipe
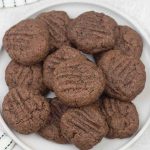
Chocolate Fork Biscuits
Equipment
- Baking sheet
- Mixing bowl
- Electric mixer
- Kitchen scales
Ingredients
- 100 g butter , room temperature
- 50 g caster sugar
- 125 g Self raising flour
- 10 g cocoa powder
Instructions
- Preheat the oven to 180C / 350F and line a baking tray with parchment paper.
- Cream the butter and sugar together until fluffy.100 g butter, 50 g caster sugar
- Mix in the flour and cocoa powder until the dough comes together.125 g Self raising flour, 10 g cocoa powder
- Spoon about 1 tablespoon of the dough per cookie and roll them into balls.
- Place the balls of dough on the prepared baking tray and press down gently on each biscuit with the fork, making an imprint.
- Bake the biscuits in the oven for 12–15 minutes, or until they are fully baked and firm around the edges.
- Remove from the oven and allow to cool on a wire rack. They will be soft when they come out of the oven, but will firm up as they cool.

Martha says
Soft and really melt in your mouth biscuits. I enjoyed them with a cup of milk for breakfast.