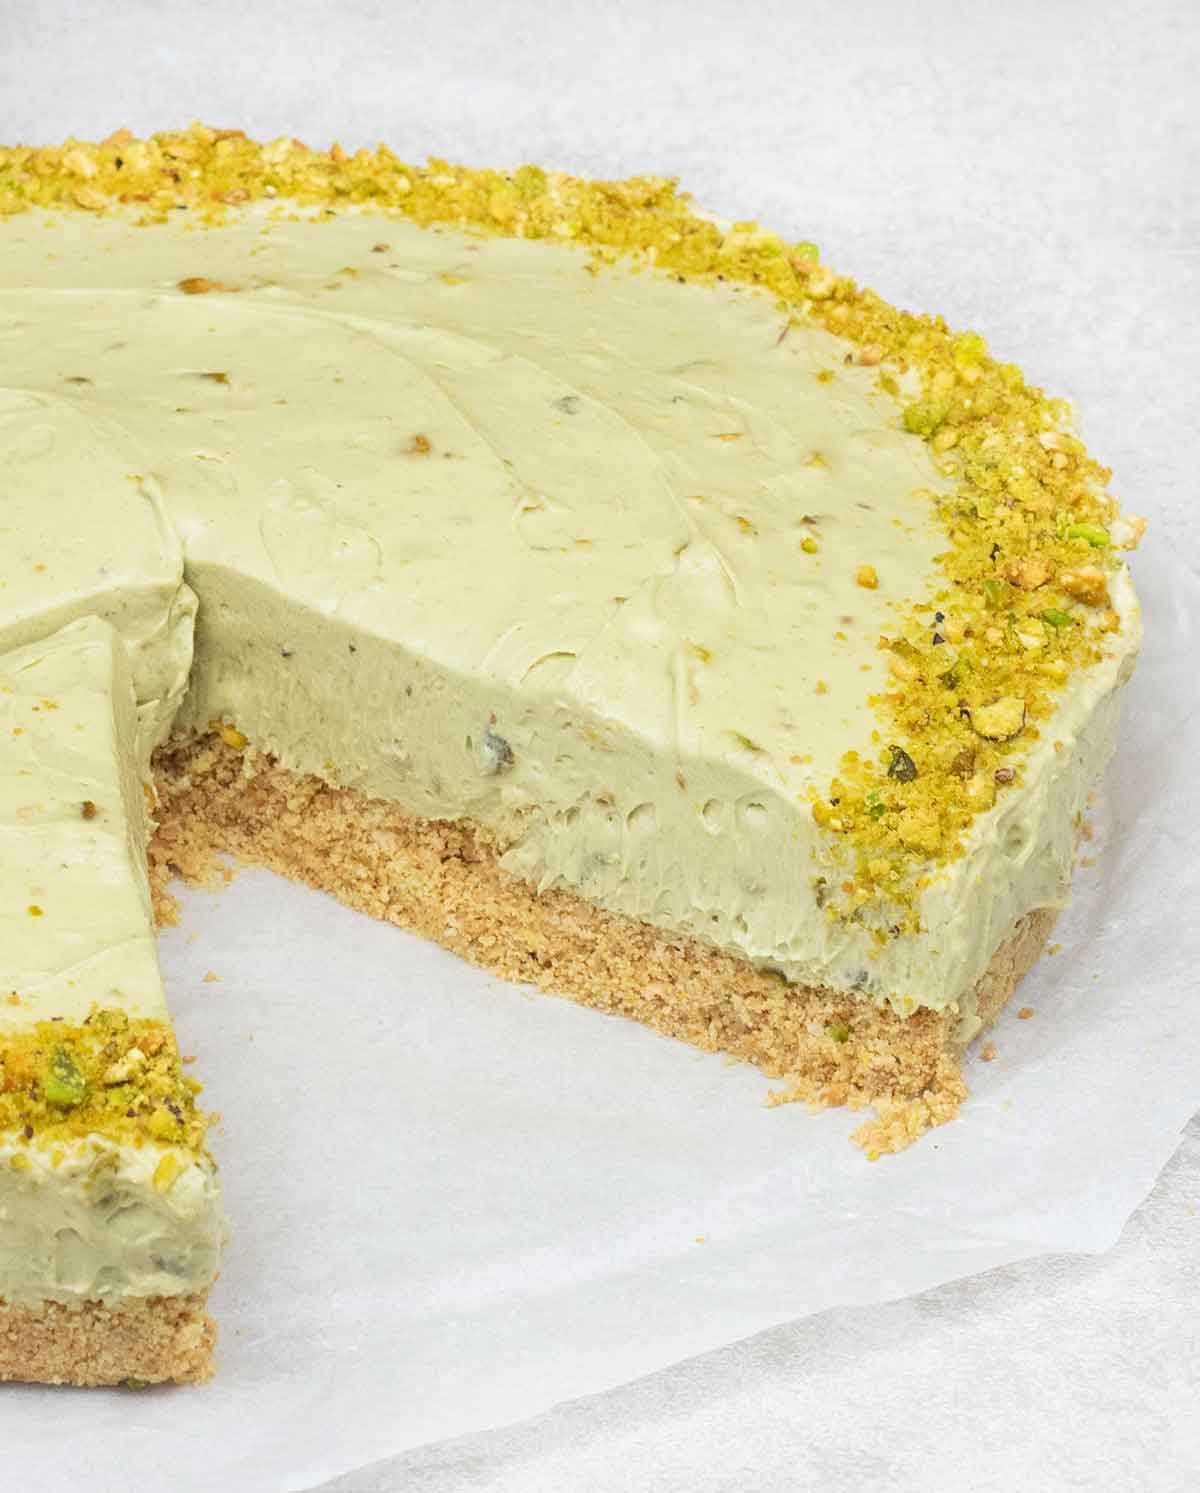
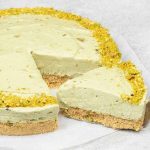
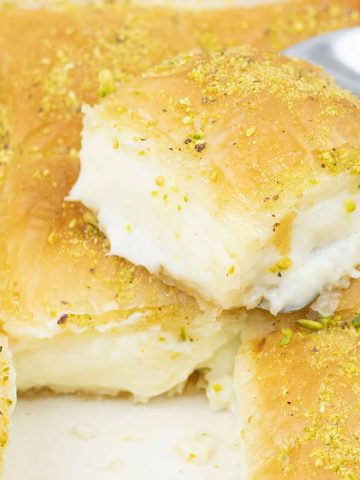
I finally made pistachio cheesecake, and I am so happy I did; it turned out super creamy, rich, and packed with pistachio goodness. And the best part? I didn't need eggs, gelatin, or even an oven to make it.

Pistachio Cheesecake
Since this cheesecake is no-bake, it is incredibly easy to put together. I also didn't need to buy pistachio cream spread since I had leftover from my Dubai Chocolate Bar Recipe.
Because I love pistachios so much, I couldn't help myself and packed them into every layer of this cheesecake: the crust, the filling, and even on top too.
You'll Need
Here are the ingredients you'll need to make this no-bake cheesecake.
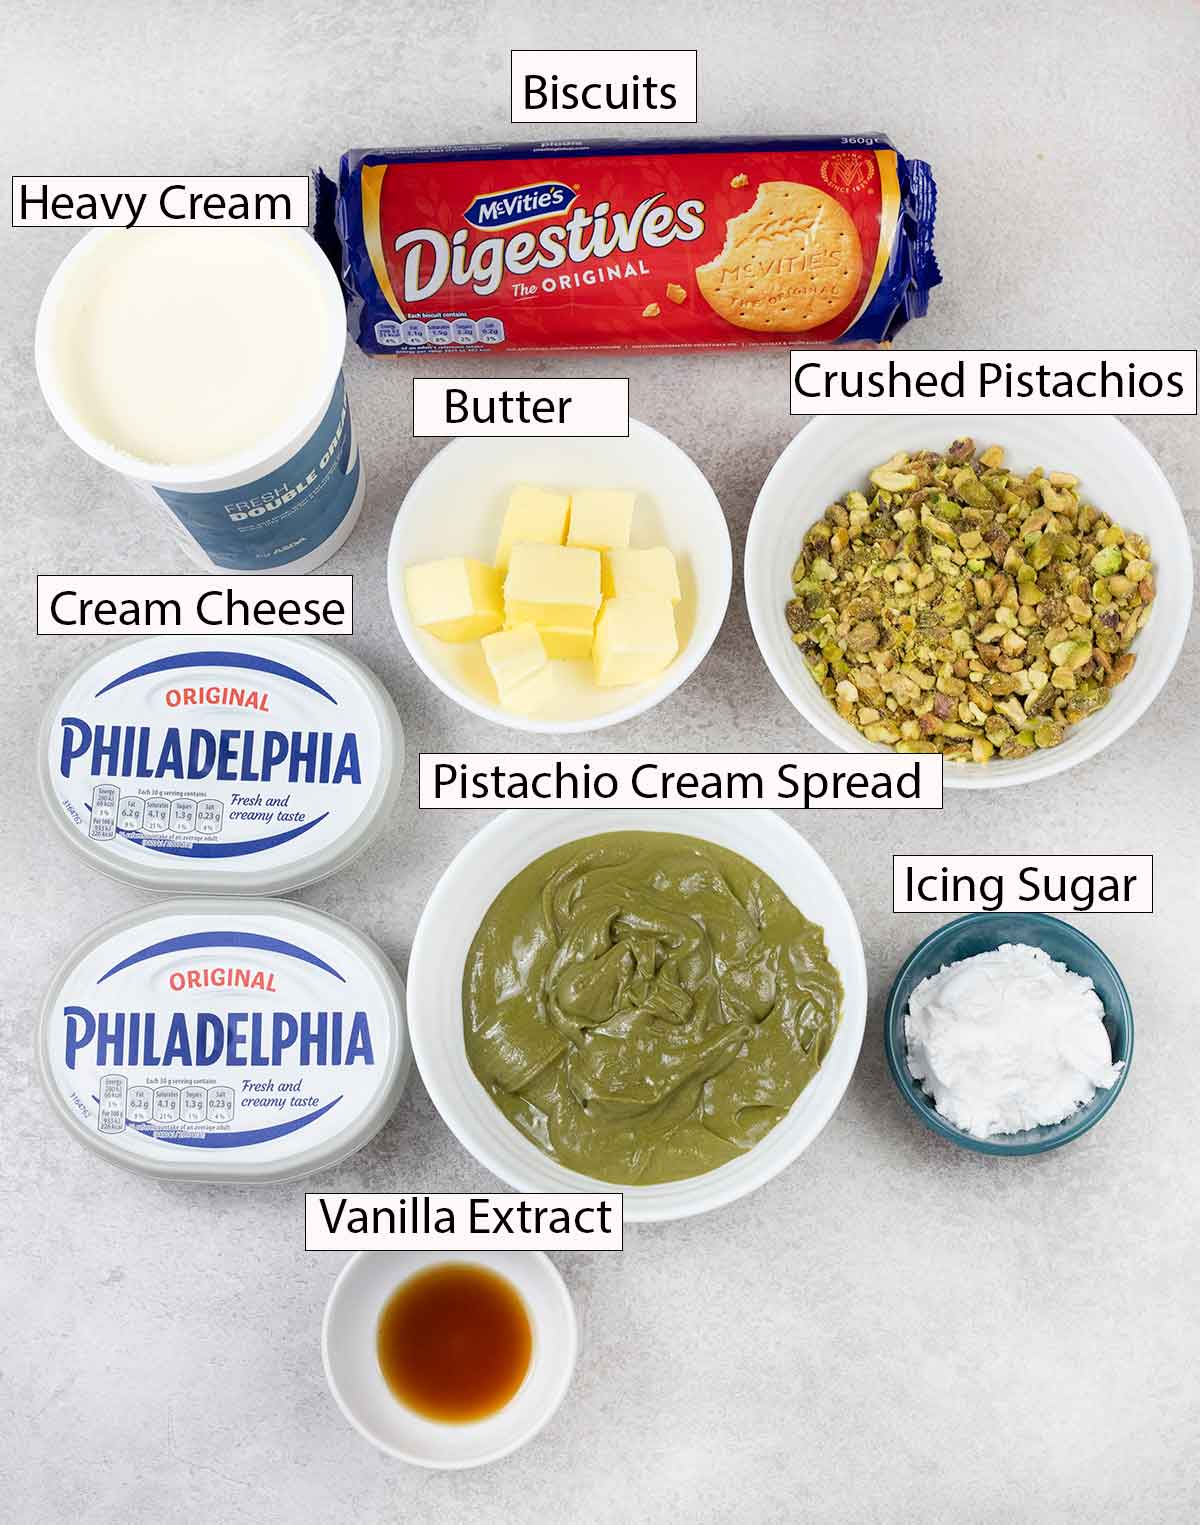
- Digestive biscuits: Feel free to use any biscuits or cookies you prefer for the crust, such as graham crackers or Oreos.
- Pistachios: I use unsalted pistachios in every layer of this dessert.
- Cream cheese: I use Philadelphia cream cheese at room temperature.
- Greek yogurt: It makes the cheesecake filling super light and still really creamy.
- Pistachio cream spread ( pistachio butter): I highly recommend using high-quality pistachio cream spread for the best flavor.
- Butter: I use unsalted melted butter to ensure the crust sets firmly when chilled.
- Icing sugar: To sweeten the filling. I highly recommend sifting the icing sugar before using it to prevent any lumps in the filling.
- Vanilla extract: Just for flavor.
- Heavy cream: I use heavy cream for a rich cream cheese filling. I use it COLD.
Find the quantities in the recipe card.
How To Make Pistachio Cheesecake
Here's a step-by-step overview of the recipe with photos, so you can see the steps. However, the detailed instructions are in the recipe card below.
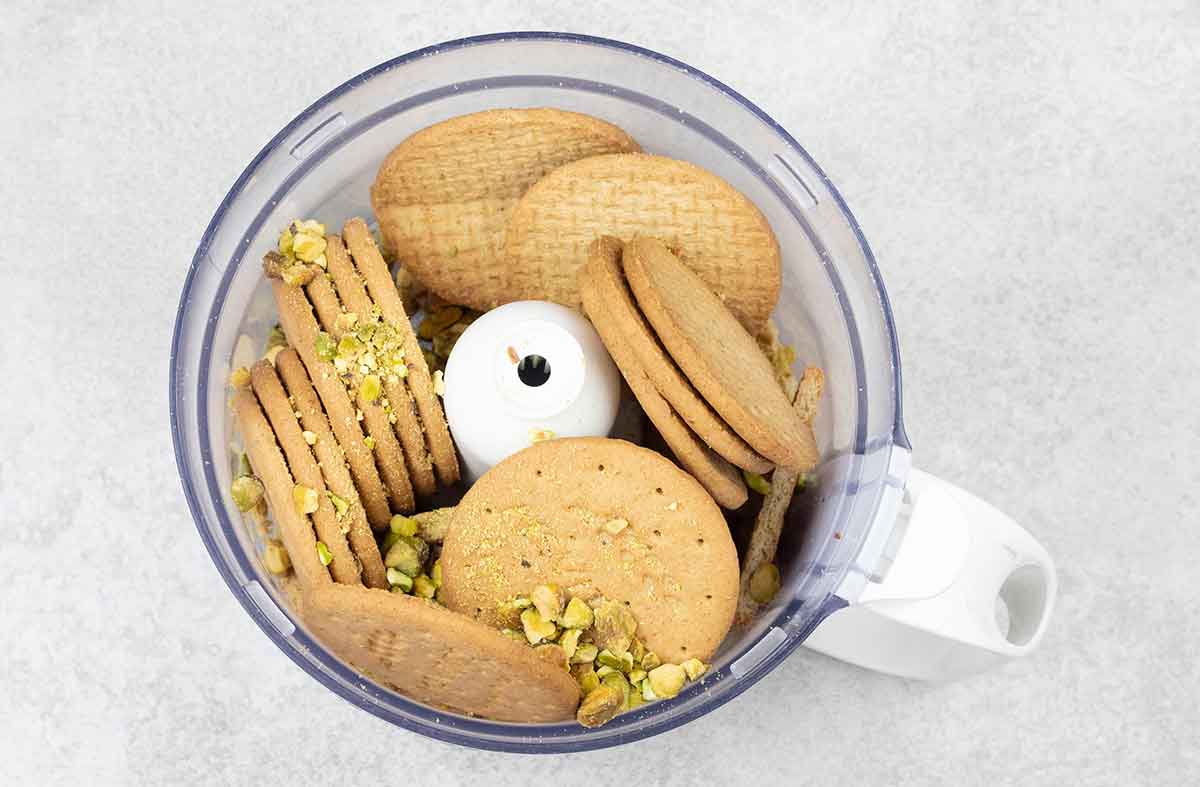
Blitz the biscuits and pistachios in the food processor until they turn into fine crumbs.
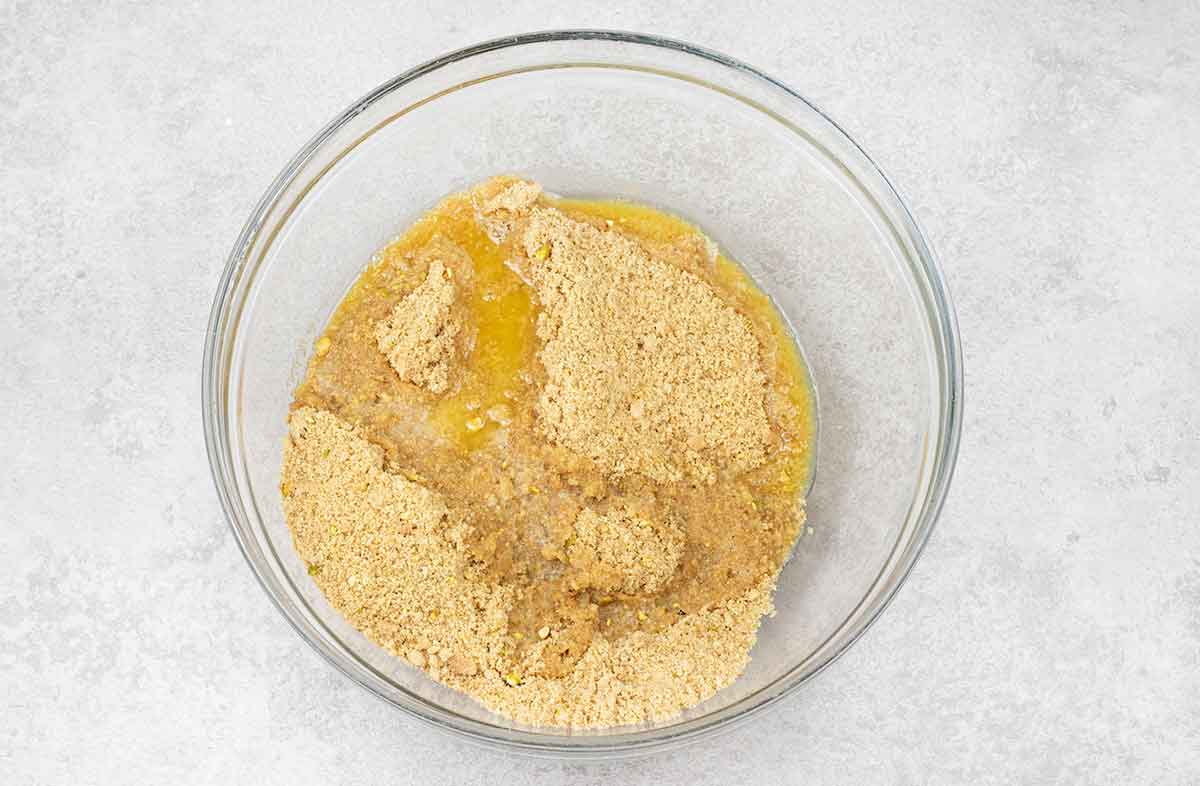
Mix the biscuit crumbs with melted butter.
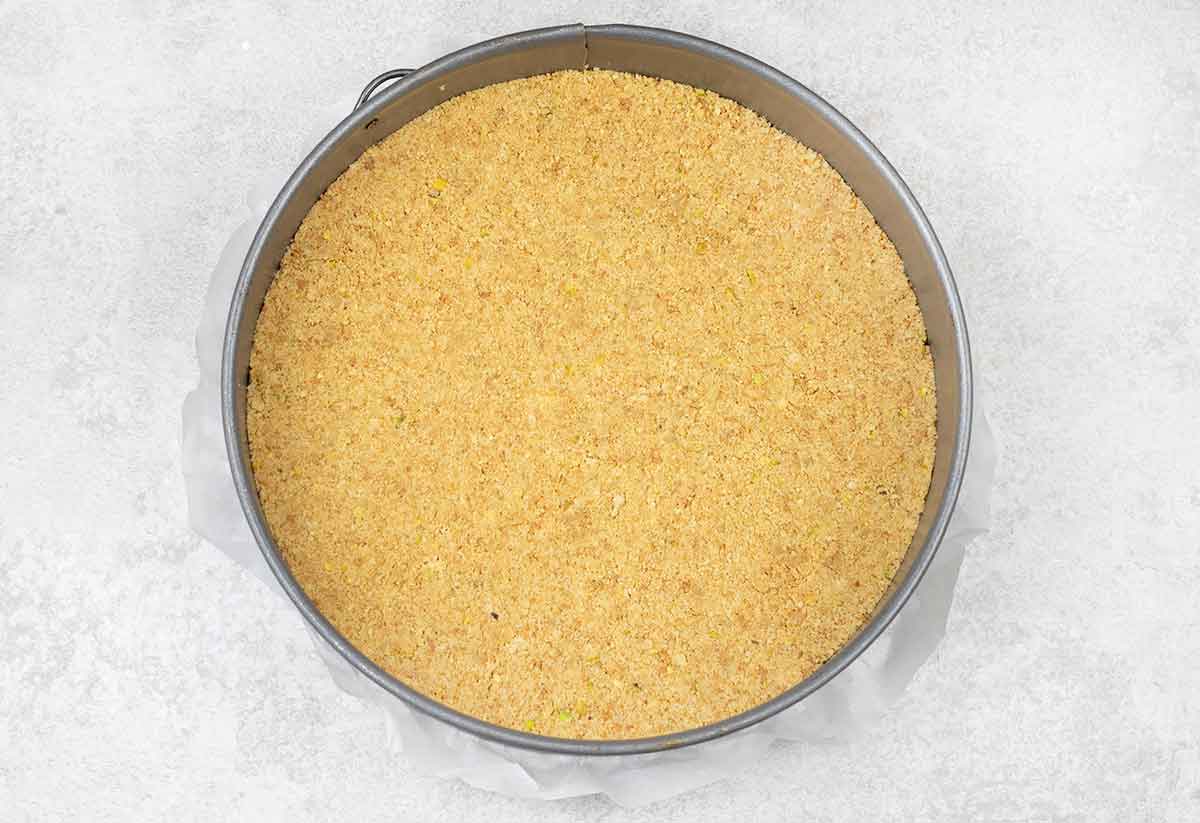
Press the mixture into the springform pan and chill.
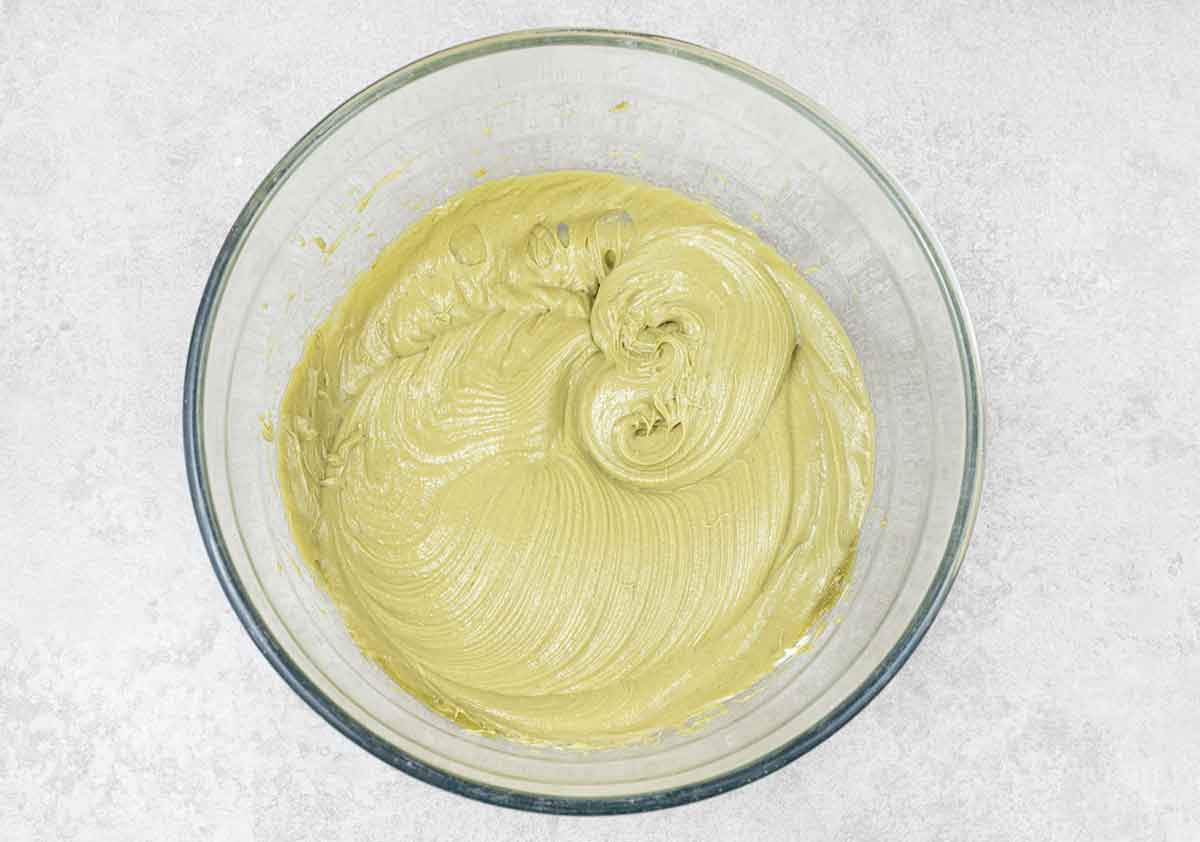
Whisk the cream cheese, yogurt, vanilla extract and pistachio cream spread until smooth.
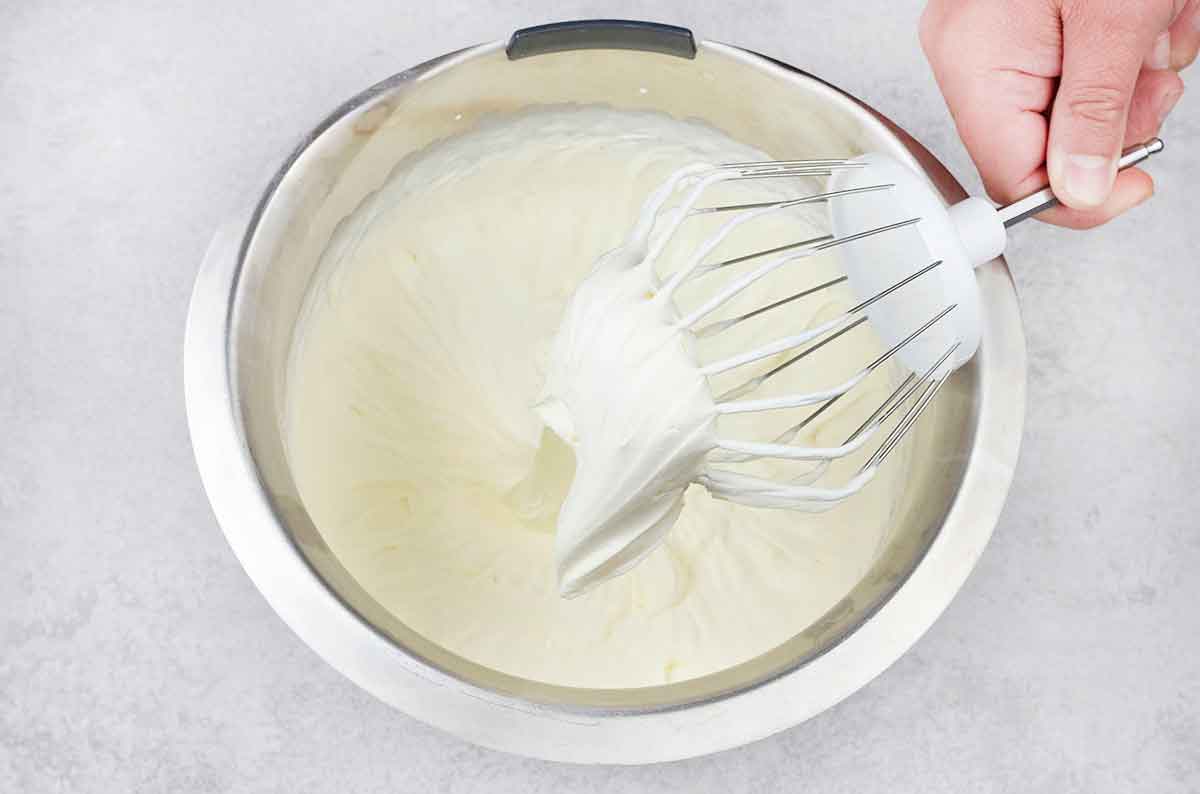
Whisk the heavy cream and icing sugar with the electric mixer until a stiff peak forms (DON'T overmix).
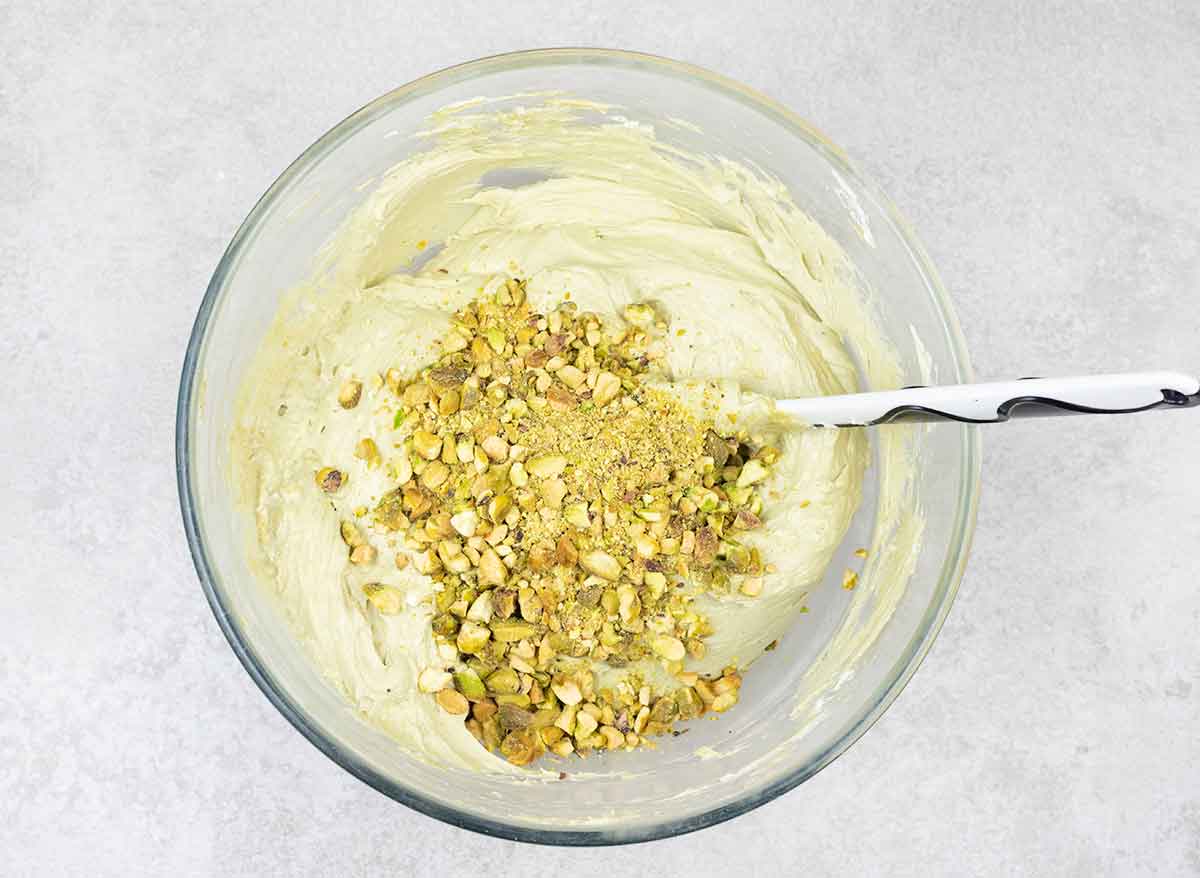
Fold the whipped cream into the cream cheese mixture, then fold in the crushed pistachios.
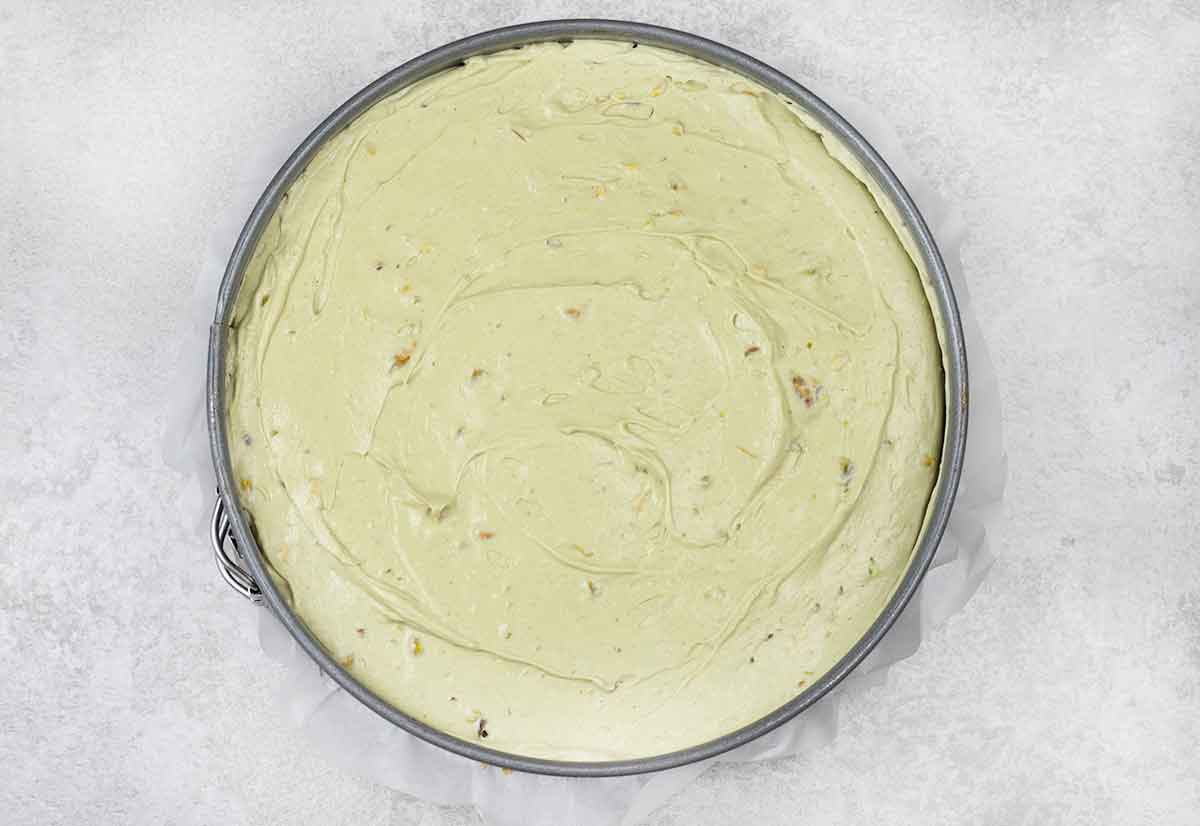
Spread the filling on top of the crust and chill for at least 5 hours.

Scatter the crushed pistachios all around the edges of the cheesecake.
Take the cheesecake out of the springform pan and put it on a serving plate. Cut and serve!
For more pistachio recipes, check Pistachio Brownies, Egyptian Baklava and Honey Roasted Mixed Nuts; they're all incredibly delicious.
Pro Tips
- This no-bake cheesecake is perfect for making a day ahead of time because it needs to chill for at least 5 hours; I chill it overnight.
- Use cream cheese at room temperature to prevent lumps in the cheesecake filling.
- Wipe your knife with a wet kitchen towel after each cut for clean slices.
- Store leftovers in the fridge in a sales container for 3-4 days.
How To Freeze It?
I recommend freezing cheesecake in individual slices. First, flash-freeze them, then wrap each slice tightly in plastic wrap and store them in a sealed container in the freezer for up to 2 months.
More Cheesecake Recipes
I hope you like this recipe as much as I do! Don't forget to follow Recipe Tale on Pinterest and subscribe to our newsletter to keep up-to-date with all new recipes.
Recipe
Pistachio Cheesecake
Equipment
- Springform pan
- Electric mixer
- Measuring spoons
- Measuring cups
- Mixing bowl
Ingredients
For the crust
- 360 g Digestive biscuits
- ½ cup unsalted Butter, melted
- ¼ cup pistachios
For the cheesecake filling
- 2x165 g Philadelphia cream cheese, room temperature
- ¼ cup Greek yogurt, room temperature
- 300 g pistachio cream spread
- 300 ml heavy cream, cold
- 1 teaspoon vanilla extract
- 2 tablespoon Icing sugar
- ¼ cup pistachios, crushed
For decoration
- 2 tablespoon pistachios, crushed
Instructions
- Make the crust: Line an 23 cm springform pan with parchment paper. Add the biscuits and pistachios to the food processor and beat until they turn into fine crumbs.
- Transfer the crumb mixture into a mixing bowl, add the melted butter and mix well until combined.
- Press the mixture into the bottom of the springform pan and refrigerate until the filling is finished.
- Make the cheesecake filling: Add the cream cheese, yogurt, vanilla extract and pistachio cream spread in a mixing bowl and whisk with the electric mixer until smooth.
- In another bowl, add the heavy cream and icing sugar and whisk with the electric mixer or stand mixer until a stiff peak forms (DON'T OVERMIX).
- Carefully fold the whipped cream into the cream cheese mixture, then fold in the crushed pistachios.
- Equally, spread the filling on top of the base and put it in the fridge for at least 5 hours (I keep it overnight).
- Decorate the cheesecake: Sprinkle the crushed pistachios all around the edges of the cheesecake.
- Remove it from the springform pan and transfer it to a serving plate. Serve!
Comments
No Comments