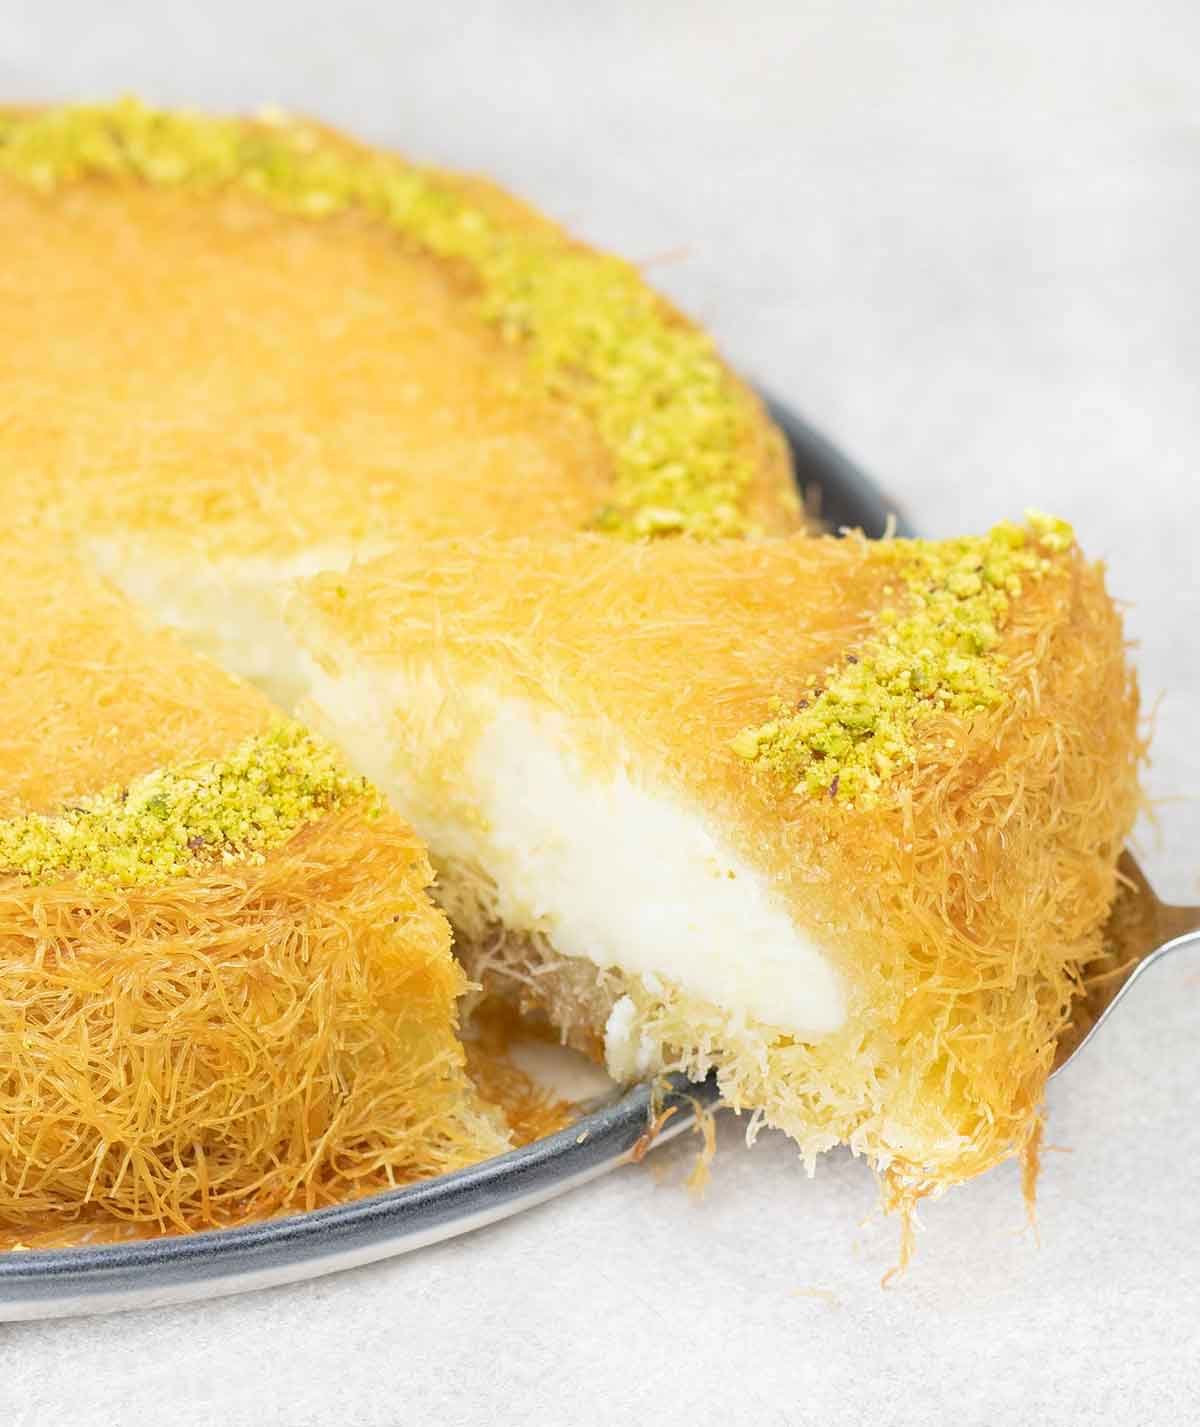
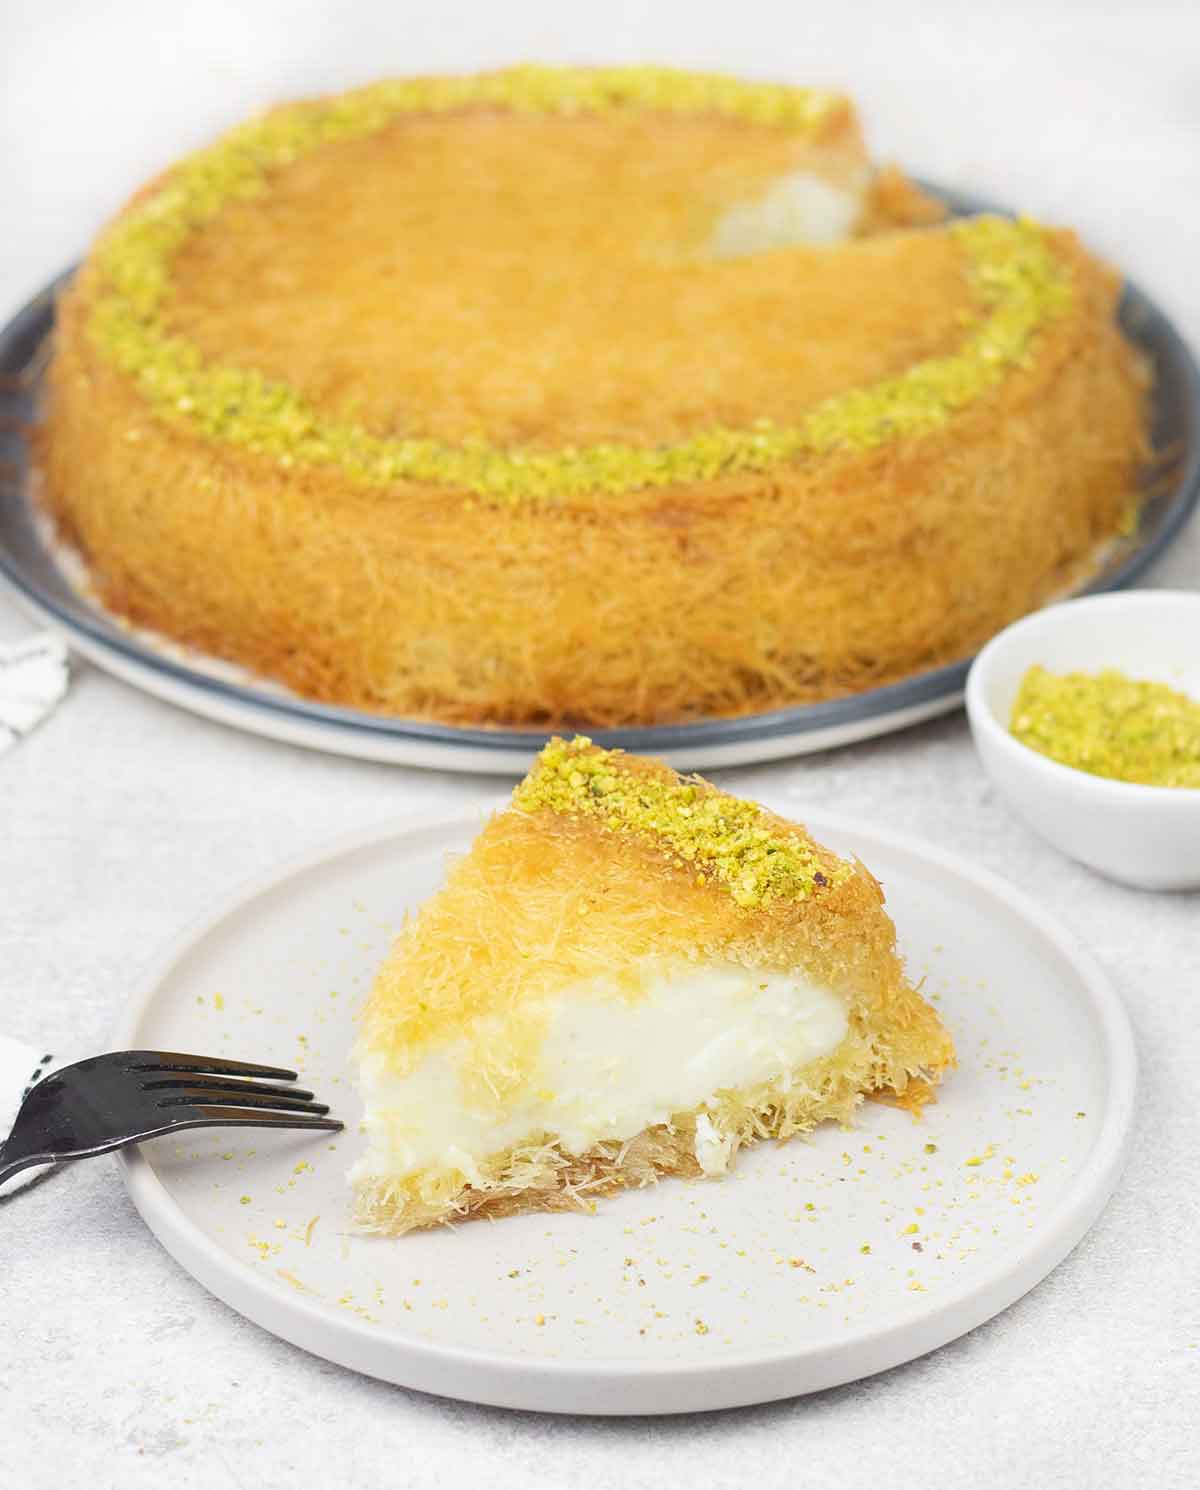
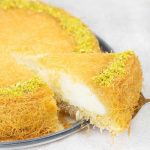
Kunafa is one of those desserts I grew up loving, and to this day it remains one of my all-time favorite Middle Eastern desserts. The crispy golden layers, creamy filling, and sweet syrup make it completely irresistible, especially when shared during family gatherings. Ramadan just wouldn’t feel the same without Kunafa on the table. I adore it!
Kunafa
Growing up in Egypt, where desserts like Kunafa are SO popular, I was lucky to learn the recipe from my mother. It’s a sweet tradition passed down through generations.
Making this delicious dessert is a 3-part process. First, I must prepare the sugar syrup (simple syrup), filling, and pastry separately.
Once done, I assemble the dessert, bake it until golden brown and crispy, and then drizzle it with sugar syrup. Ta-dh!
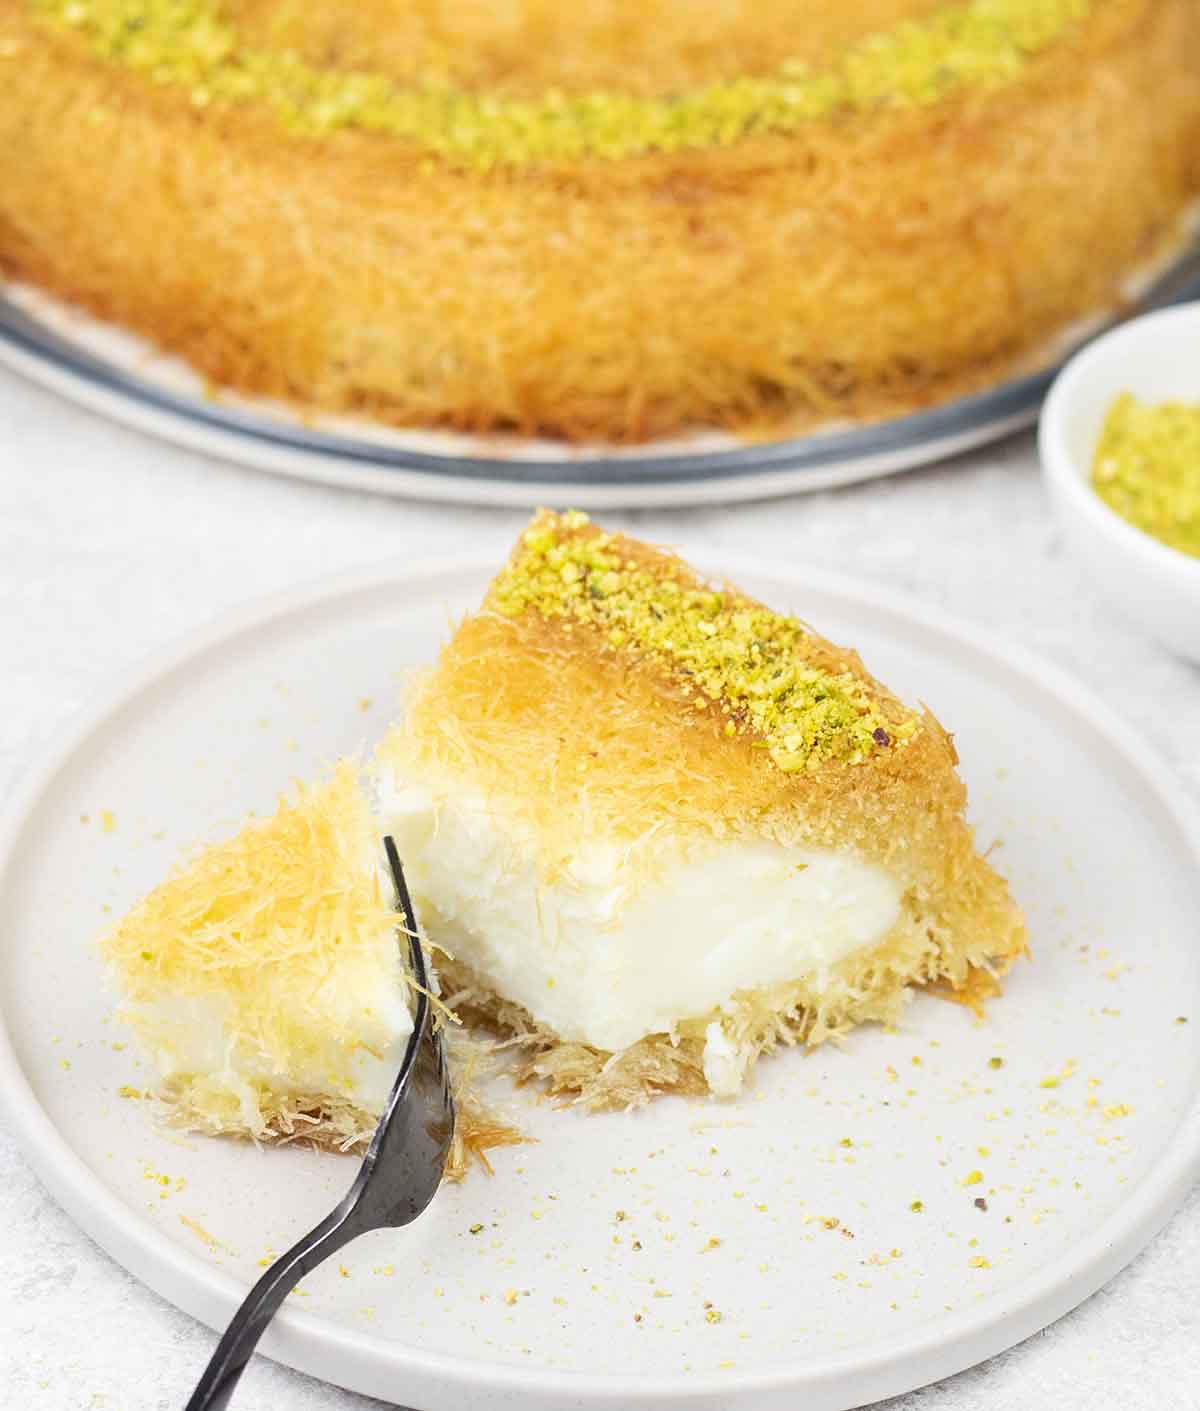
OMG! The crispy pastry and creamy filling, oozing with sweet syrup, are absolutely divine!

You'll Need
Kunafa (kataifi) pastry: I get this from a Middle Eastern grocery store. You may also find it under the name "kataifi dough".
Ghee: I highly recommend using high-quality ghee! And no, butter is not a substitute! If needed, you can use clarified butter instead, but regular butter just won’t give you the same results.
Granulated sugar, vanilla extract, lemon juice and water: To make the Sugar syrup.
Full-fat milk: To make a rich cream filling.
Cornstarch: I use it to thicken the cream filling.
Ground pistachio: For the topping. You can use any kind of nuts you like. Traditionally, walnuts, almonds, and pistachios are used.
See the recipe card for full information on ingredients and quantities.
How To Make Kunafa?
Here's a simple breakdown of the process.
Step One - Make The Sugar Syrup
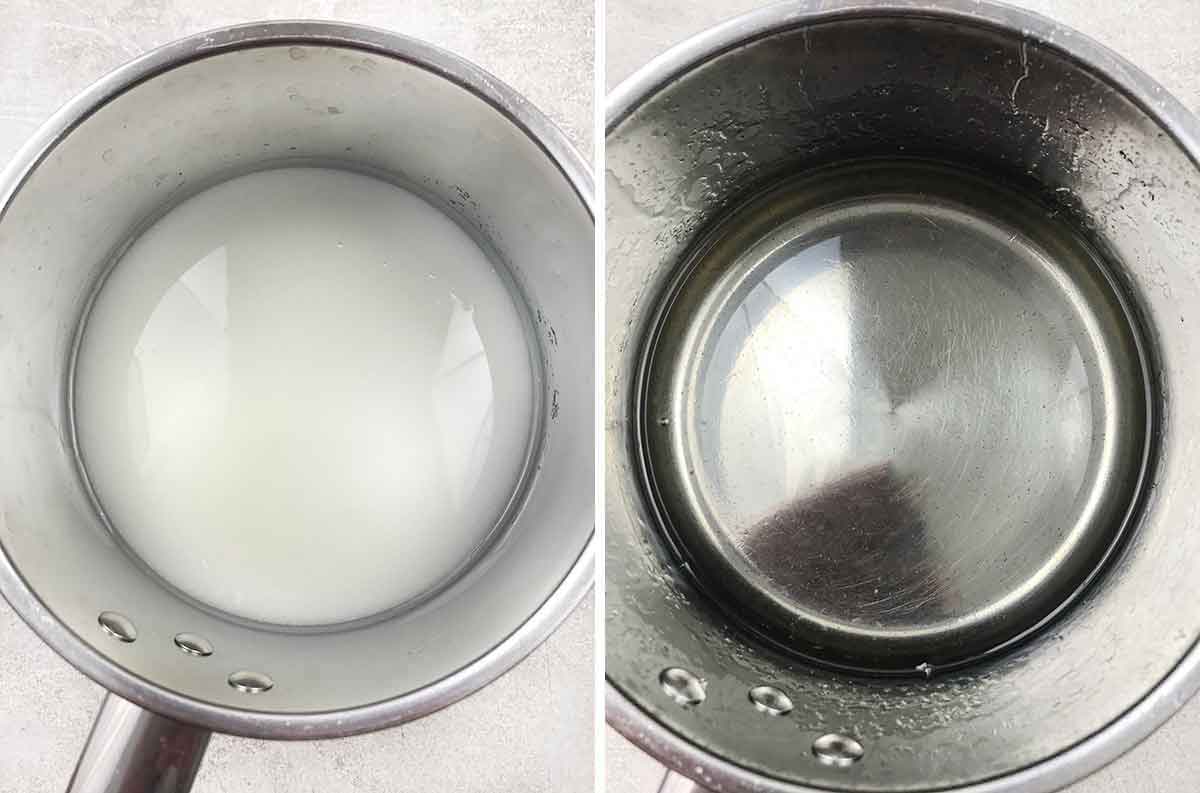
Take out a small saucepan, add sugar and water over medium high heat and bring it to a boil. Once boiled, bring the heat to a medium and let the mixture simmer for 4 to 5 minutes more.
Add vanilla extract and lemon juice to the mixture. Stir them well, and then turn the heat off.
Now set this syrup aside to cool completely. Meanwhile, you can move on to prepare the filling.
Step Two- Prepare The Filling
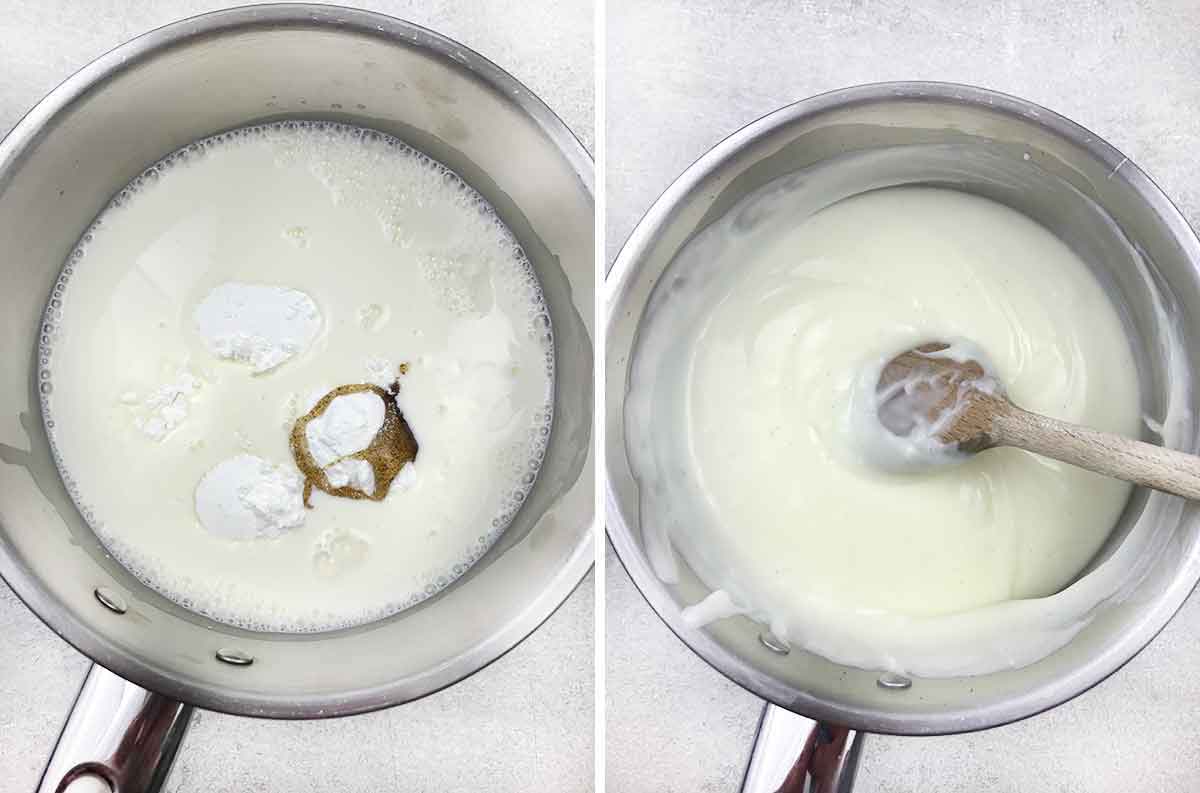
Now, take a small saucepan. In this, you’ll want to add sugar, cornstarch, and milk.
Let this mixture brew over medium heat for 2 to 3 minutes until it starts to thicken. Whisk this mixture constantly, so that no lumps form.
Finally, add drops of vanilla extract and turn off the heat. Now, set this filling aside to cool as well. While it cools, let’s move on to preparing the Kunafa.
Step Three - Prepare The Kunafa Pastry
Preheat the oven to 190C/370F and grease a 22 cm baking pan with ghee, and set it aside.
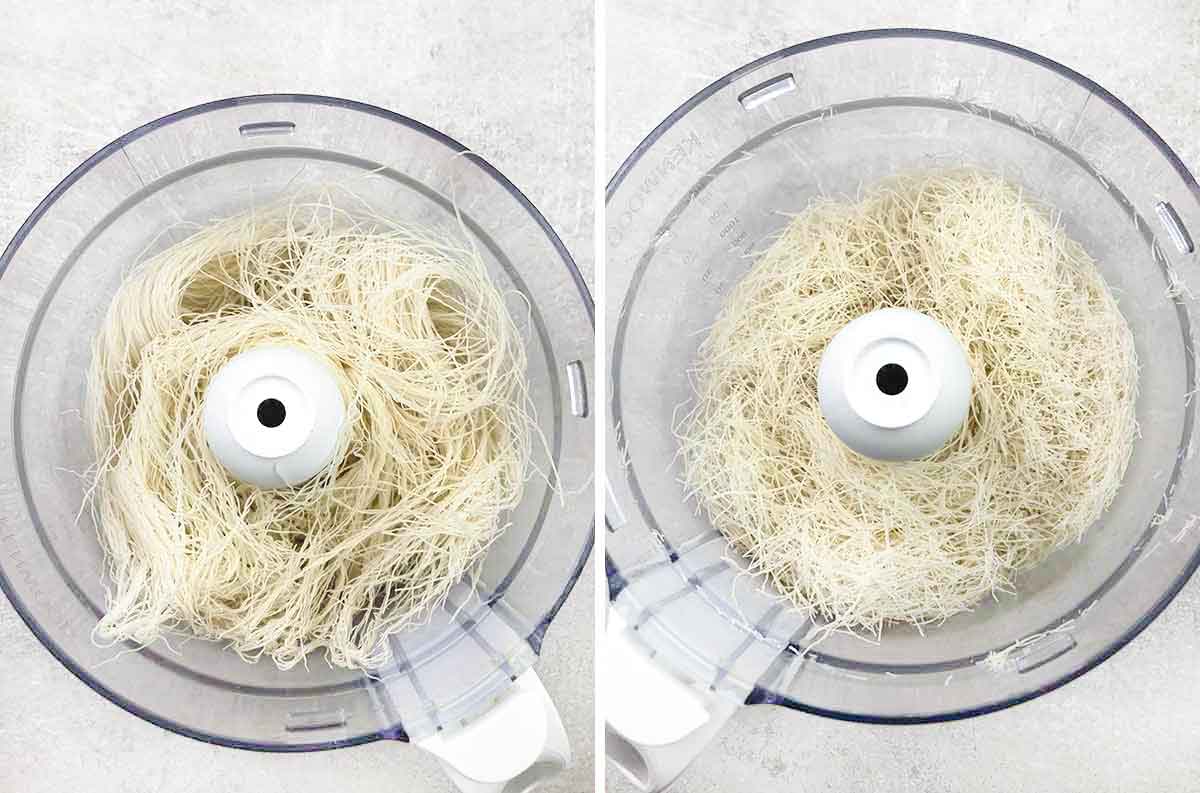
Take the kunafa pastry out and either blitz it in a food processor until finely shredded, or use scissors to cut it into small pieces. Transfer to a large bowl.
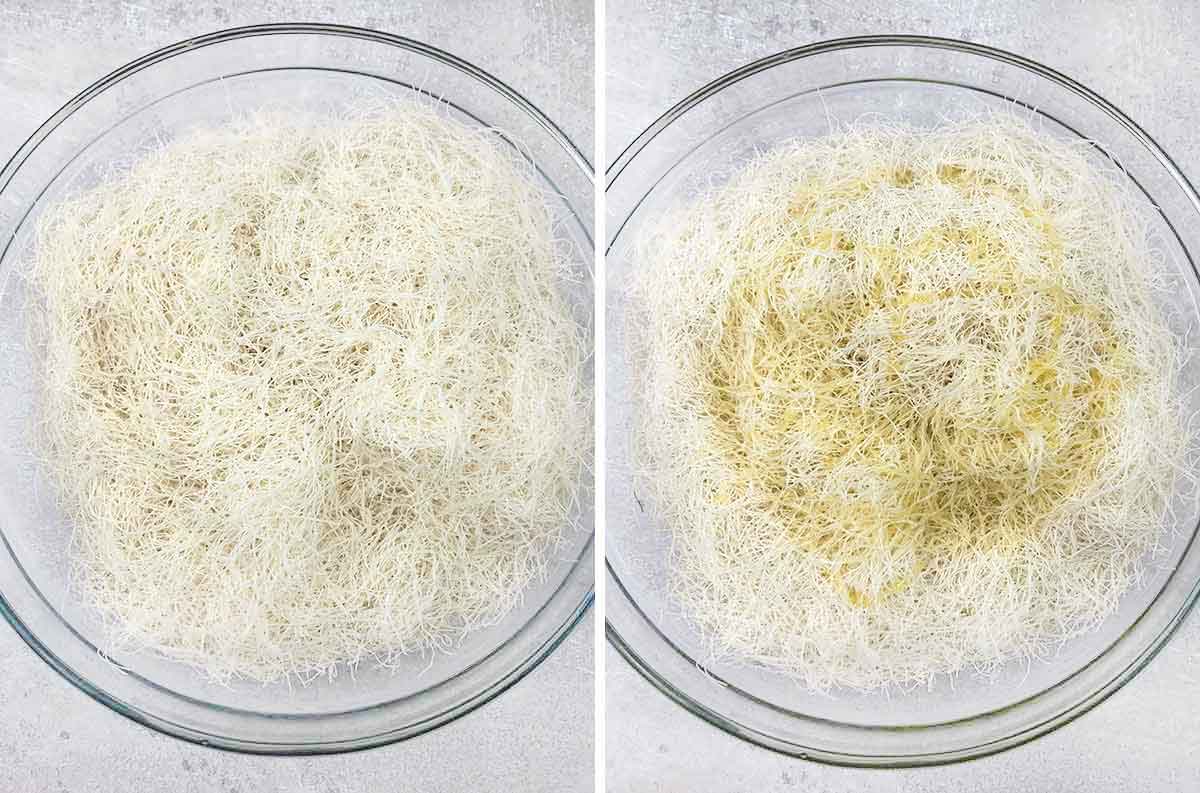
Now take your melted ghee and mix it thoroughly into the pastry. Rub the Kunafa with ghee using both hands.
Tip: For a golden, crispy texture, make sure every strand is well-coated with ghee.
Step Four - Assemble The Dessert
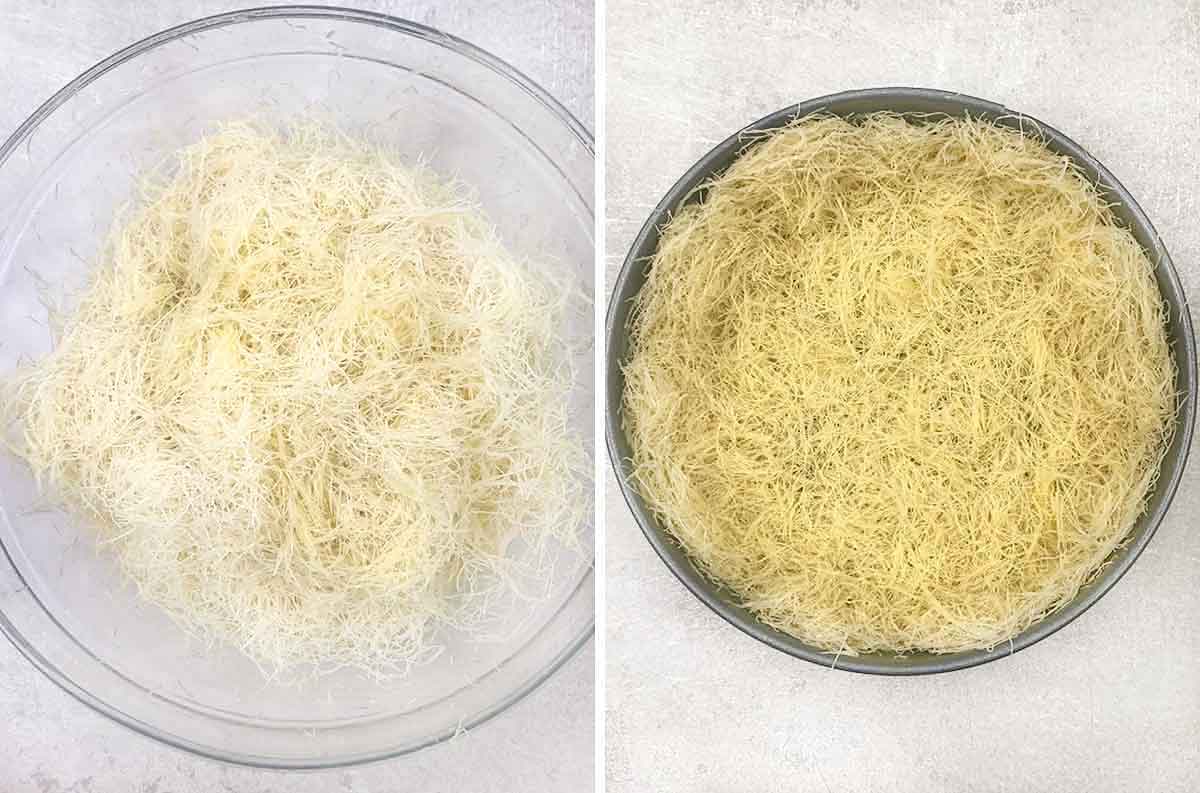
Now, it is ready to go in the oven! Add half of the kunafa to the bottom of the baking pan we had prepared ahead of time and set aside.
Press on this layer you just created on the bottom of your pan with the palm of your hand. You want to aim for a very flat layer of Kunafa.
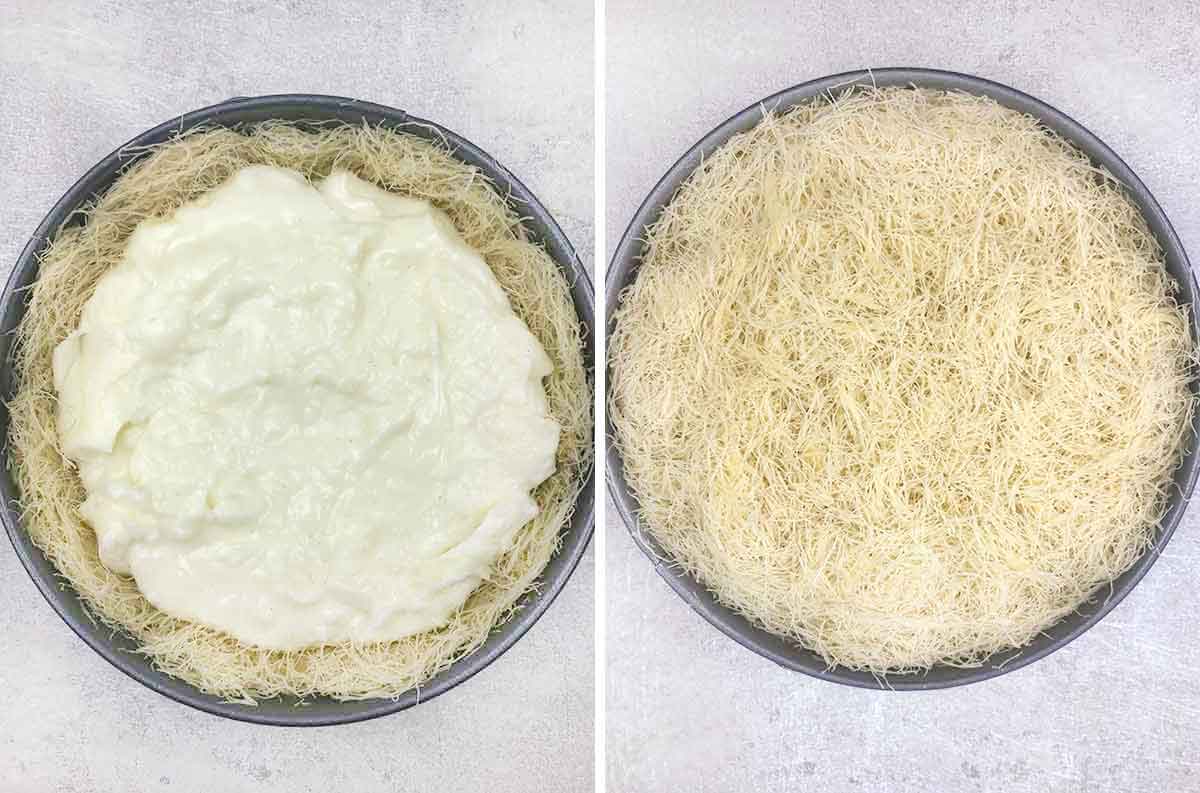
Now add pastry around the edges of the tray and press on them as well.
Next, we’re going to pour the cream filling into the centre of the pan and spread it out over the first layer.
Tip: Keep the filling away from the edges so it doesn’t leak out and burn while baking.
Top the cream with the rest of the Kunafa pastry and press it down gently using both hands.
Step Five - Bake The Kunafa
Take this Kunafa sandwich and plop it in the preheated oven. Let it bake in the oven for 40-45 minutes or until the top becomes golden brown and crispy.
Tip: Bake on the middle oven rack to ensure the bottom turns golden and crispy, just like the top.
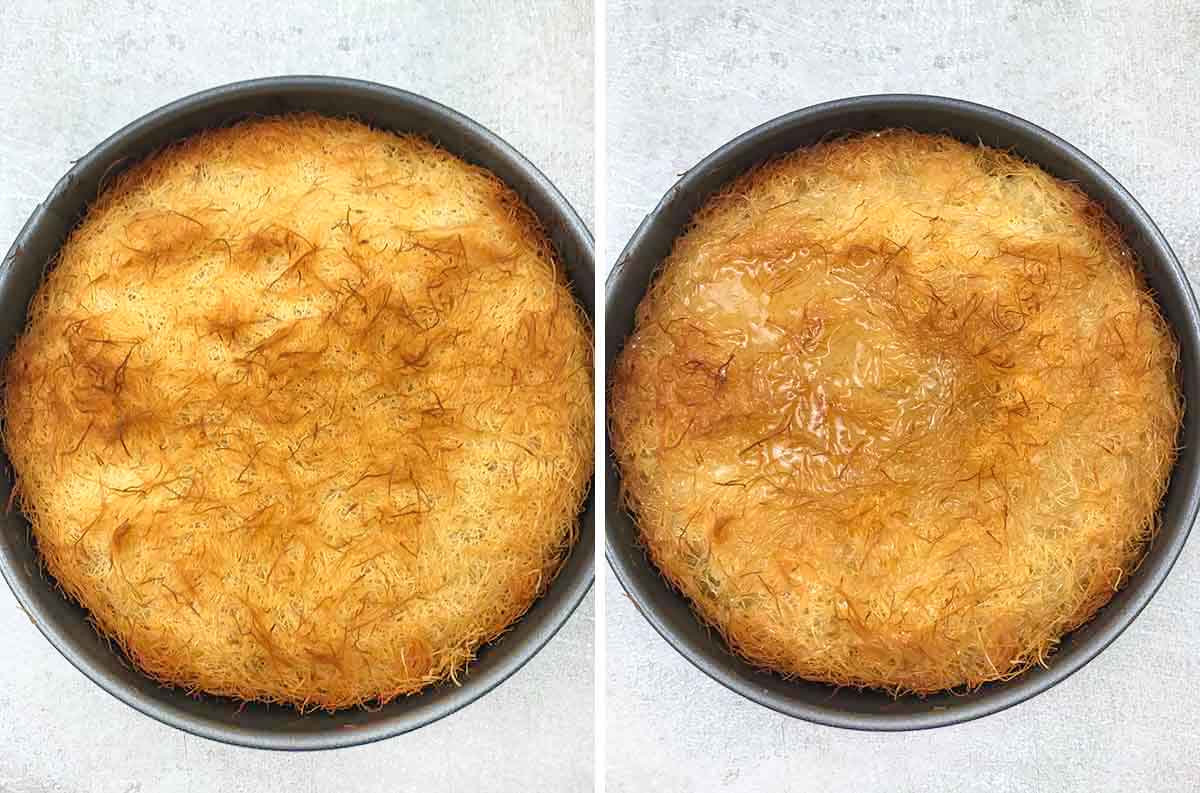
Step Six - Drizzle With The Sugar Syrup
As soon as you remove it from the oven, drizzle the cooled syrup evenly over the top. Let it sit for 10-15 minutes. This will ensure that all the syrup has been absorbed.
Step Seven - Garnish
Sprinkle some ground pistachio on top, then cut it and serve. Ta-duh!
Pro Tips
- If you're using frozen Kunafa pastry, make sure to thaw it completely before using it for evenly baking.
- Sugar syrup can be made in advance, even up to a month ahead and stored in the fridge in a glass bottle.
- I prefer to use a springform pan to release the Kunafa more easily and without any damage.
- Use cheese filling instead of the cream filling, such as mozzarella cheese, Akkawi cheese or ricotta cheese.
How To Store It
I usually store the leftover kunafa for 3 to 5 days in the fridge and they stay just fine.
Freezing Kunafa isn’t a good idea, believe me! I once froze it for a week (even in an airtight container), and it completely lost its crunch and turned soggy. Never again!
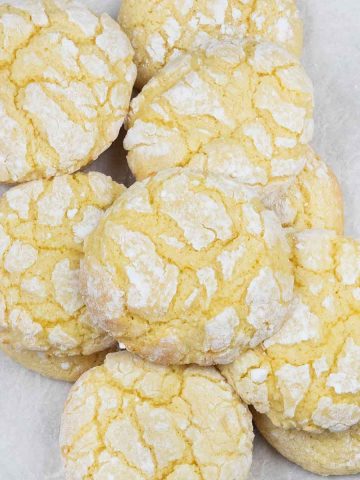
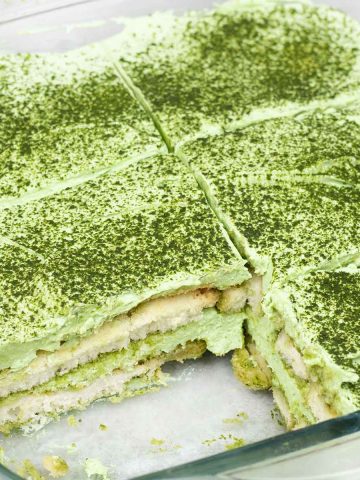
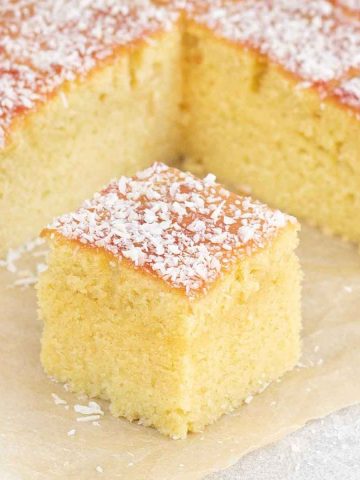
More Middle Eastern Recipes
I hope you like this recipe! Follow me on Pinterest or subscribe to our Newsletter to keep up-to-date with all new recipes.
Recipe
Kunafa Recipe
Equipment
- Baking pan
- Mixing bowl
- saucepan
- Measuring cups
- Measuring spoons
Ingredients
- 400 g Kunafa pastry
- 240 g ghee
For the sugar syrup
- 2 cups sugar
- 1 cup water
- 1 teaspoon vanilla extract
- ½ teaspoon lemon juice
For the filling
- 3 cups milk
- 3 tablespoon cornstarch
- 2 tablespoon sugar
- 1 teaspoon vanilla extract
- 1 tablespoon pistachio , ground
Instructions
- Make the sugar syrup: In a small saucepan, add sugar and water over high heat and bring to a boil, turn down the heat and let it simmer for 4-5 more minutes.2 cups sugar, 1 cup water
- Add in the vanilla extract and lemon juice, stir, and then turn off the heat. Allow it to cool completely.1 teaspoon vanilla extract, ½ teaspoon lemon juice
- Preparing the filling: In a small saucepan, add sugar, cornstarch and milk over medium heat, whisk constantly for 2-3 minutes until the mixture thickens, and there are no lumps at all.3 cups milk, 3 tablespoon cornstarch, 2 tablespoon sugar
- Add in vanilla extract, stir and turn off the heat and allow it to cool.1 teaspoon vanilla extract
- Prepare the Kunafa pastry: Preheat the oven to 190C/370F and grease a 22 cm baking pan with ghee, and set aside.
- Put the pastry in the food processor and blitz until you have fine strips of Kunafa.400 g Kunafa pastry
- Pour the melted ghee over it and mix it thoroughly (rub the Kunafa with ghee using your hands).240 g ghee
- Assemble: Add half of the pastry to the bottom of the prepared baking pan, press on it with the palm of your hand until you get a flat layer of Kunafa. Now add pastry around the edges of the tray and press on them as well.
- Pour the cream filling into the centre of the pan and spread it out over the first layer of pastry.
- Top the cream with the rest of the pastry and press it down gently using both hands.
- Bake in the oven for 40-45 minutes or until the top becomes golden brown.
- Drizzle with the syrup: As soon as you remove it from the oven, pour the cooled syrup evenly over the top. Let it sit for 10 minutes, so all the syrup is absorbed.
- Sprinkle some ground pistachio on top, then cut it and serve.1 tablespoon pistachio
Notes
- Use springform pan to release the Kunafa more easily and without any damage.
- Keep the filling away from the edges so it doesn’t leak out and burn while baking.
- Bake on the middle oven rack to ensure the bottom turns golden and crispy, just like the top.
Engi says
This recipe was a hit, all my family loved it, and the detailed instructions were easy to follow. Thanks for sharing this wonderful recipe, especially during Ramadan.